Want to wish all the ghost and ghouls a happy and safe Halloween!!
We are still without power but safe and trying to get in the festivities. Thank goodness for smart phones!!
10.31.2012
10.27.2012
Bonus Storm Prepping
I guess everyone knows by now there is a gigantic storm headed for the east coast. Here in NY we are bracing for what looks like a lot of wind and rain (crossing my fingers there is no snow) and power outages.
I encourage you to use the FEMA website to follow their storm preparation advice and check lists. I have. But, I wanted to share some of the other things we do to get ready.
:: Charge the Kindle :: Nothing like having a good book to get lost in during a power outage. I'll be most likely finishing "The Dragonriders of Pern." And reading the kindle by candle light sounds marvelous! Yes, you could also run to the library and have a nice new book on hand.
:: Tire Out the Pups :: We are very outdoorsy people and dogs... so one of the bummers of a storm like this is the cabin fever of not being able to really go outside. Yes, we'll run out for puppy business, but we will probably have to forgo long walks or playing ball outside. So, this morning we had the pups outside running, chasing, romping in the leaves and any other form of getting them tired. This afternoon I'll also take Sammy for a doggy play date to squeeze out every drop of energy possible. A good healthy tired will keep them more relax during the storm and keep them from getting too bored.
:: Do all the Laundry and Dishes :: If someone sneezes around here we loose power, so we more or less expect to loose it during the storm. Nothing like having a full drawer of clothes and a cabinet of dishes to use during the ordeal to make us more comfortable. I may also wash up a quilt or two for optimal snuggling!
:: Have Board Games Handy :: Nothing worse than sitting in a dark house, with no power, and everyone whining that they are bored. My cure for keeping entertained is a combination of board games, books, sudoku puzzles, and hand sewing. I make sure these are all out and handy so that they are easy to grab when needed.
Wishing everyone a safe and uneventful storm. Please be sure to check on your family and neighbors -- together we are all stronger and more resilient! Catch up with you soon!
10.26.2012
Fall 2012 Bloggers' Quilt Festival :: Off to the Pumpkin Patch
Off to the Pumpkin Patch Stats
Finished quilt measures : 16″x 32″
Special techniques used : whole cloth quilting, fabric painting
Quilted by : myself on my home sewing machine
Best Category : Art Quilt, Wall Hanging, Home Machine Quilted
I love this time of year, the cold weather is starting to settle in. We wrap ourselves in warm sweaters or snuggle under quilts. And I finally return to my sewing in earnest. I am also excited that today is the start of the Fall Bloggers' Quilt Festival!!
These are put on twice a year by the amazing Amy from AmysCreativeSide and it's a fantastic reason to pour a cup of tea and read until you are so inspired you run off to start another quilt (or finish one!!) -- just click the button for all the other inspiring entries!
Today I'd like to share a new art quilt with you. I'm calling it "Off to the Pumpkin Patch." This quilt is a lot of firsts for me, but let's see how the idea for it came together.
It all started with a call for entry for fall themed art display we will be putting together at work. I have had a pumpkin quilt in my head for a long time, so it seemed like the perfect fall theme. I started by sketching, first on a smaller scale in my sketch pads, and then larger right on fabric.
You see, I've been really smitten with painting on fabric since the start of the summer. You can see how that's taken shape in my Sammy Quilt. But, for this quilt, I wanted to try the whole cloth quilted technique that you do the quilting first and then add color through painting. So, I attached my free motion foot and set out to quilt my sketch.
I quilted the normal three layer quilt sandwich using cream thread and more or less traced the pumpkin farm I sketched on the fabric. And even though I will admit I was so very scared... this was so much fun!
I found myself loose and the quilting stitches better than I've ever accomplished. It really had a drawing with thread type of feel. And as the farm emerged with all that fabric texture I was beaming ear to ear! The next time I try this I think I'll try different thread colors. The cream became challenging to later cover with paint.
Has a lovely feel to it, doesn't it? A part of me really wanted to leave it just like this and call it a success. And I did leave it like this for days. But, as the time passed I knew I had to try and paint it.
I started from the top not knowing where else to dig in. Colored the sky, mountains, and roofs. In case your wondering the fabric paint I used is called PROfab transparent which I sourced from Pro Chemical & Dye. And I am painting on white cotton that is prepared for dye (PFD).
The paint has a fun quality to it once you mix it with water. And I'm beginning to get the feel for how it will act when applied to a dry vs. wet quilt. As you can see my fear melted quickly and I was happily lost in painting! Once the painting was complete, I heat set it with the iron.
I wanted to give the finished quilt an art like finish, so went with an invisible binding method I found well described in this tutorial from Simply Robin. I love the way the painting and quilting falls right off the edge.
Thank you so much for stopping by and I'd love to have you leave me a link to your entry in comments!! Happy festival!
Fall 2011 Quilt Festival :: Big Blue
Spring 2011 Quilt Festival :: Tribal
10.25.2012
Someone had a 1/2 Birthday!
Here's what's going on...

:: Fall naps on or with a quilt is a must
:: Apples abound for homemade applesauce
:: Sammy never tires of playing fetch with her favorite toy of the day
:: The pups are getting more and more alike and same-sized. Getting harder to tell them apart at first glance
:: I got my hairs cut and am loving my bangs
:: Puppy butts. As in, taking lots and lots of fall weather walks
:: This is a tree in which I am nearly 99% sure that faeries live in
:: Good hard chewing bones are a must on those colder rainy days to entertain the pup
:: Sammy may be everyone's shadow, but 1st she is Katie's shadow. It's more evident lately that Sammy wants to be exactly like Katie when she grows up. We just hope that's sooner, than later.
p.s. Sammy had her half birthday recently. She's is officially 1 and 1/2 years old. Aww!

:: Fall naps on or with a quilt is a must
:: Apples abound for homemade applesauce
:: Sammy never tires of playing fetch with her favorite toy of the day
:: The pups are getting more and more alike and same-sized. Getting harder to tell them apart at first glance
:: I got my hairs cut and am loving my bangs
:: Puppy butts. As in, taking lots and lots of fall weather walks
:: This is a tree in which I am nearly 99% sure that faeries live in
:: Good hard chewing bones are a must on those colder rainy days to entertain the pup
:: Sammy may be everyone's shadow, but 1st she is Katie's shadow. It's more evident lately that Sammy wants to be exactly like Katie when she grows up. We just hope that's sooner, than later.
p.s. Sammy had her half birthday recently. She's is officially 1 and 1/2 years old. Aww!
10.24.2012
Island Inspired Recycle Box
The Mister is the kind of guy that is very handy. He can make most anything he wants. So, when I asked him to whip up a crate-like box, that I could use to recycle our paper junk mail, he made me the coolest thing! It's a wooden box made of individual slats, but the part that makes it so cool is the randomness he incorporated for crazy 'ole me. The slats have varying heights and angles. He called it the island fence box and when he gave it to me... he instructed me to paint it up using lots of color to get that island feel. Isn't he wonderful?
It was so relaxing to snuggle up on the floor in front of the TV and spread out my paints in anticipation of going a little paint color crazy. As I painted and changed colors, I actually didn't rinse or clean my brush in between. The result was a really dynamic mixing and swirling of colors. Gives the box a great texture.
While I was up to my elbows in paint, my assistants weren't too far away. It's amazing how close Katie (left) and Sammy (right) have gotten. I mean they are laying less than a hand length away from each other, nose to nose. Ad-or-able!
And, then I was spotted. Time to get back to painting.
Here's a shot of my work space. I used a plastic palette and you can see how the brushes are covered in many colors. I think the mixing and blending is what made this project so much fun for me. I painted all the surfaces with the exception of the bottom and am really head-over-heels for the result.
...and so was Sammy. She kept trying to put balls, toys, and bones in the box while I had it on the ground to take a few pictures. It was heart breaking to explain this wasn't for her.
The inside. I was really getting the hang of the mixing and distressing once I got to this part.
One of the corners and sides. I think the red-purple plank may be one of my favorites.
Sure makes getting junk mail a more enjoyable experience. I mean, any excuse to stare loving at this box! And once the box is full, then we wrap all that unwanted paper, fliers, and magazines with twine and stick it in the recycle bin on trash day.
Feels almost as good as sipping a rum drink on the beach in Caribbean, doesn't it? Do you recycle your junk mail?
10.16.2012
Falling for Fall
Hello, Fall! My, oh my, have we been enjoying you... let me count the ways!
:: We've been staring at the trees, marvelling at the colors, and laughing at the falling leaves.
:: We have been enjoying naps and snuggling on the couch. Especially when there is a fire is in the fireplace.
:: We have been totally enjoying every minute of football. It almost doesn't even matter who is playing, as long as it's a good match up. Bonus points if it's a Giants game and we Giants fans can live the game play by play. It's not a quiet thing.
:: We have been enchanted by the deep blues of a clear fall day or the clever patterns of the clouds.
:: We have napped in other places. The four legged babes are dropping off quick from all the time moving outdoors.
:: We've groomed trails for hiking. Thing are a little tidier and blocked paths are more ready to recieve visitors.
:: I've sewn in preparation for the Pat Pauly art quilting class I am taking tomorrow. More on that soon!
:: I've continued my hand sewing adventure on the healing cloth that I started earlier.
:: We stopped to play in the sand (at the lake beach). It was a great reminder to slow down and enjoy the sunshine.
:: The pups were bathed. It was a long time coming, but Ms. Sammy helped things along by rolling in and attaching poo to her head. Smelly business. They are so soft and fluffy now. It won't last, but it was a nice reminder that they clean up alright!
:: I have packed a ton of my favorite fabrics for the art quilting workshop I mentioned above (the one with Pat Pauly). It's called Slash and Burn. I'm nervous... but it's that good kind of nervous. The kind when you know something special is about to happen! It's all about improv creating. I promise I will share more on the experience.
...and as always, if you'd like to see more of what's Happy in the moment... I'm instagramming up a storm; @cwiltex gets you there!
9.26.2012
Lookie What I Made {Pants into Skirt}
Once upon a time, I had a pair of gray dress pants that were my favorite. Very comfortable, great material, good fit, pockets.... as time went on I wore them all the time, feeling great each and every time. Then one dark day a big splot of red marker ink found it's way on to the right leg (below the knee) of my favorite pants....and....wouldn't wash out.
This is the story of how I saved them and turned those pants into a skirt!
Start by undoing the inseam of each leg. You can see in the back I went nearly all the way up to the waist. In the front, I went about an inch below the zipper.
Once you have your opening, try on the garment and decide what shape you would like to achieve. Less triangle gives you more of a fitted pencil skirt, while more triangle (pictured below) gives more of an a-line skirt shape. I also saw one idea that you could simply sew the back together with no triangle inserted.
I used a piece of white tissue paper to make a pattern for the shape of the triangle and then used that to cut out my material. I decided to be daring and went with light blue dots on gray as the triangle material.
The coffee pictured is optional, although it certainly helped me out!
I then pinned the triangle into the opening with the right side of the fabrics toward each other and sewed the seams. Repeat for the other side.... I used the same polka dot material for the front and back openings.
And voila.... your old favorite is reborn into your new favorite. And I was tickled to find a turquoise top that coordinated with the dot color.
I'd say I'm pretty smitten with how this turned out and I can see more fashion re-makes in my future!
Have you re-fashioned any clothing? What else can you alter with ease?
Sharing at {Sew}Modern Monday and Fabric Tuesday along with others from my left blog bar.
This is the story of how I saved them and turned those pants into a skirt!
Start by undoing the inseam of each leg. You can see in the back I went nearly all the way up to the waist. In the front, I went about an inch below the zipper.
Once you have your opening, try on the garment and decide what shape you would like to achieve. Less triangle gives you more of a fitted pencil skirt, while more triangle (pictured below) gives more of an a-line skirt shape. I also saw one idea that you could simply sew the back together with no triangle inserted.
I used a piece of white tissue paper to make a pattern for the shape of the triangle and then used that to cut out my material. I decided to be daring and went with light blue dots on gray as the triangle material.
The coffee pictured is optional, although it certainly helped me out!
I then pinned the triangle into the opening with the right side of the fabrics toward each other and sewed the seams. Repeat for the other side.... I used the same polka dot material for the front and back openings.
And voila.... your old favorite is reborn into your new favorite. And I was tickled to find a turquoise top that coordinated with the dot color.
I'd say I'm pretty smitten with how this turned out and I can see more fashion re-makes in my future!
Have you re-fashioned any clothing? What else can you alter with ease?
Sharing at {Sew}Modern Monday and Fabric Tuesday along with others from my left blog bar.
9.25.2012
CT: Birds of a Feather (#71)
Happy Creative Tuesday!
The most recent challenge was to work with the theme Birds of a Feather. What a fun one considering my new crush on red tail hawks. I love the idea of getting familar with the way their feathers look and how they carry their feet when they fly.
I just played with pencil this time. It's soothing, meditative. And upon further reading I saw somewhere that among Native Americans traditions, hawks are considered the messenger of change. And couldn't be more appropriate as things, they 'a changing.
Hawks reminded the people they needed to be awake and aware and can achieve great things through persistence and sheer strength of will. I love that!
The most recent challenge was to work with the theme Birds of a Feather. What a fun one considering my new crush on red tail hawks. I love the idea of getting familar with the way their feathers look and how they carry their feet when they fly.
I just played with pencil this time. It's soothing, meditative. And upon further reading I saw somewhere that among Native Americans traditions, hawks are considered the messenger of change. And couldn't be more appropriate as things, they 'a changing.
Hawks reminded the people they needed to be awake and aware and can achieve great things through persistence and sheer strength of will. I love that!
9.24.2012
Baked Apple Cider Donuts {baking notes}
I saw a pin on Pinterest for Apple Cider Donut Holes recently, and pretty much dropped everything and made a batch. You know... for testing purposes. The recipe originally comes from Feastie, however, I'd like to share the baking notes I've made after two batches.
These donuts are totally tasty and baked... so healthy, right? Plus, they give me an excuse to use my mini cupcake pan. Love that!
{recipe from Feastie -- link here -- but re-posted so we can talk about small changes I made}
Ingredients:
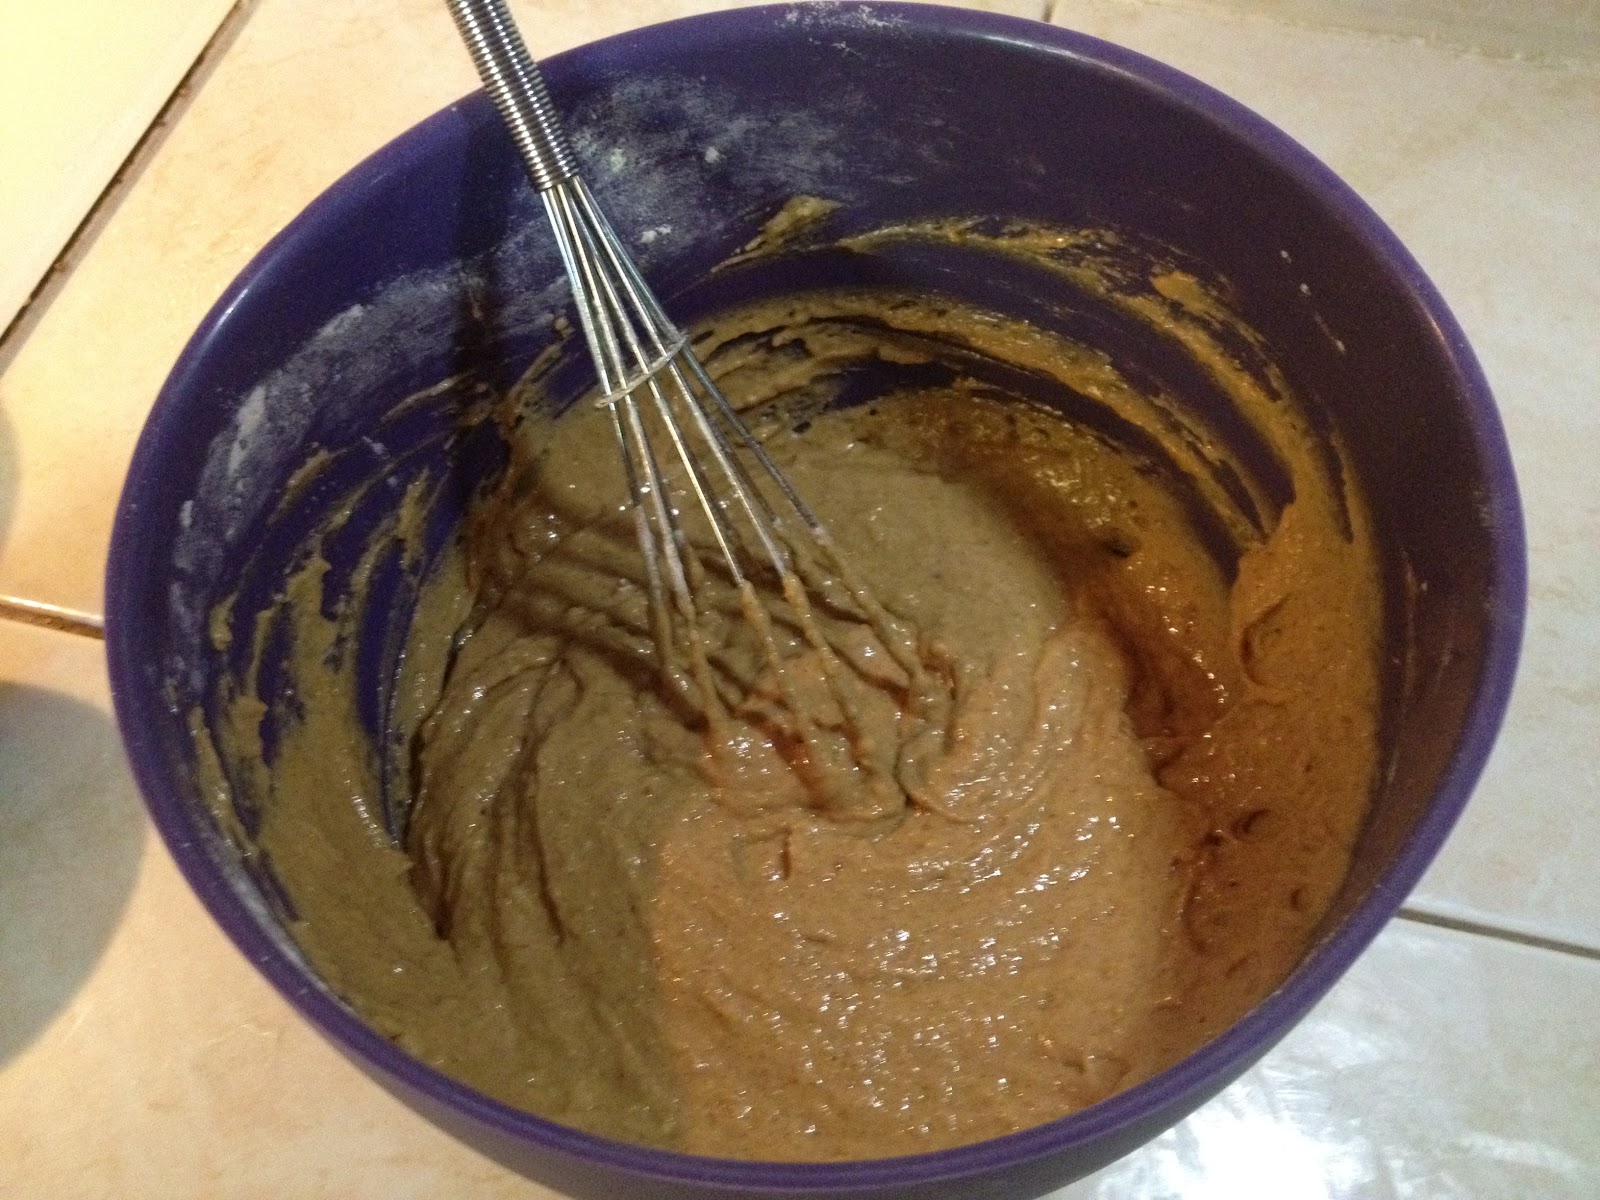
The instructions (#2 and #3) say to mix the dry ingredients in one bowl and the wet ingredients in another bowl... and I actually followed this suggestion and it worked out really well. I encourage you to do the same! I'm saying this because I'm the type of person to usually skip the second bowl parts of recipes.
A cookie scooper worked out really well to get the batter in the tiny baking pan wells.
Here are the donut holes fresh out of the oven and piping hot. I used a tooth pick to test if they were done.
Did I mention these are stinkin' hot? My Tip... use the tooth pick to also get each donut hole out of the pan. Sticking the tooth pick in the center allowed me to simply pluck each one out and put on a cooling rack.
I know the recipe says it makes 24 donut holes. I made more. I think I came out with nearly double that. It's all about how much you fill the wells with batter. I found that about half way full made a good bite size donut.
I did cover my donuts with the cinnamon and sugar mix. A short cut for this part is to melt the butter in a small bowl -- you can see my small blue one below. Then I took each donut and dunked the top in the melted butter, then rolled around in the cinnamon and sugar mix.
In Batch #One, I replaced the apple butter and yogurt with apple sauce and also used apple juice in place of apple cider. This batch was so light and fluffy. Not heavy and they browned nicely.
In Batch #Two, I again replaced the apple butter with apple sauce (simple an ingredient I didn't have handy either time), but followed the rest of the recipe. This batch was really good too. I didn't notice much difference between the apple juice vs. apple cider. However, in this batch the donuts were a little denser, a little tougher. Still incredible. I'm not sure if it's the addition of yogurt or that I over stirred the batter this time.
I swear these little bites turn invisible before your eyes and I can certainly see making these again really soon. Enjoy!
These donuts are totally tasty and baked... so healthy, right? Plus, they give me an excuse to use my mini cupcake pan. Love that!
{recipe from Feastie -- link here -- but re-posted so we can talk about small changes I made}
Ingredients:
- 2 cups flour
- 1 1/2 tsp baking powder
- 1 1/2 tsp baking soda
- 1/2 tsp salt
- 2 teaspoons cinnamon {I also added pumpkin pie spices to kick the taste up a notch}
- 1 large egg
- 2/3 cup brown sugar
- 1/2 cup apple butter {I successfully replaced apple butter with apple sauce}
- 1 tsp vanilla extract
- 1/3 cup honey
- 1/3 cup apple cider {I successfully also made these with apple juice}
- 1/3 cup plain yogurt {I was able to skip this ingredient and use 1/3 cup more apple sauce}
- 2 Tbsp canola oil
- canola cooking spray
- 2 Tbsp unsalted butter
- 1/4 cup sugar
- 1 Tbsp cinnamon
Instructions:
- Preheat oven to 400 degrees and spray a mini
muffincupcake pan with cooking spray. - In a large mixing bowl, combine the flour, baking powder, baking soda, salt, and cinnamon.
- In another large bowl, whisk together the egg, brown sugar, apple butter, vanilla extract, honey, apple cider, yogurt, and canola oil. Pour the wet ingredients into the dry ingredient mixture and whisk until just incorporated. Don't over-mix - a few lumps are okay.
- Using a tablespoon or cookie scoop, fill a 24-hole mini muffin pan with the batter; fill each hole only 3/4 of the way, or you'll end up with huge mini muffins (maxi muffins?). Bake for approximately 10-12 minutes and cool on a wire rack.
- While donut holes are still warm, melt butter in a microwave safe dish. Combine cinnamon and sugar in another dish. Using a pastry brush, very lightly brush a tiny bit of melted butter onto the top of each donut hole, then dip the top of the muffin in the cinnamon sugar mixture. Roll the donut hole in the cinnamon sugar to coat the sides and top. Serve warm or at room temperature.
A cookie scooper worked out really well to get the batter in the tiny baking pan wells.
Here are the donut holes fresh out of the oven and piping hot. I used a tooth pick to test if they were done.
Did I mention these are stinkin' hot? My Tip... use the tooth pick to also get each donut hole out of the pan. Sticking the tooth pick in the center allowed me to simply pluck each one out and put on a cooling rack.
I know the recipe says it makes 24 donut holes. I made more. I think I came out with nearly double that. It's all about how much you fill the wells with batter. I found that about half way full made a good bite size donut.
I did cover my donuts with the cinnamon and sugar mix. A short cut for this part is to melt the butter in a small bowl -- you can see my small blue one below. Then I took each donut and dunked the top in the melted butter, then rolled around in the cinnamon and sugar mix.
In Batch #One, I replaced the apple butter and yogurt with apple sauce and also used apple juice in place of apple cider. This batch was so light and fluffy. Not heavy and they browned nicely.
In Batch #Two, I again replaced the apple butter with apple sauce (simple an ingredient I didn't have handy either time), but followed the rest of the recipe. This batch was really good too. I didn't notice much difference between the apple juice vs. apple cider. However, in this batch the donuts were a little denser, a little tougher. Still incredible. I'm not sure if it's the addition of yogurt or that I over stirred the batter this time.
I swear these little bites turn invisible before your eyes and I can certainly see making these again really soon. Enjoy!
Subscribe to:
Posts (Atom)