Once upon a time, I had a pair of gray dress pants that were my favorite. Very comfortable, great material, good fit, pockets.... as time went on I wore them all the time, feeling great each and every time. Then one dark day a big splot of red marker ink found it's way on to the right leg (below the knee) of my favorite pants....and....wouldn't wash out.
This is the story of how I saved them and turned those pants into a skirt!
Start by undoing the inseam of each leg. You can see in the back I went nearly all the way up to the waist. In the front, I went about an inch below the zipper.
Once you have your opening, try on the garment and decide what shape you would like to achieve. Less triangle gives you more of a fitted pencil skirt, while more triangle (pictured below) gives more of an a-line skirt shape. I also saw one idea that you could simply sew the back together with no triangle inserted.
I used a piece of white tissue paper to make a pattern for the shape of the triangle and then used that to cut out my material. I decided to be daring and went with light blue dots on gray as the triangle material.
The coffee pictured is optional, although it certainly helped me out!
I then pinned the triangle into the opening with the right side of the fabrics toward each other and sewed the seams. Repeat for the other side.... I used the same polka dot material for the front and back openings.
And voila.... your old favorite is reborn into your new favorite. And I was tickled to find a turquoise top that coordinated with the dot color.
I'd say I'm pretty smitten with how this turned out and I can see more fashion re-makes in my future!
Have you re-fashioned any clothing? What else can you alter with ease?
Sharing at {Sew}Modern Monday and Fabric Tuesday along with others from my left blog bar.
Showing posts with label sewing. Show all posts
9.26.2012
6.23.2012
Prism Progress
I'm getting closer to having all the pieces cut out and in place for Patchwork Prisms. Only six days left to finish... dun dun dun...
Here's hoping I can muster enough energy to reach the finish line. And that sewing triangles is 'easy.' What are you hoping to finish soon?
6.05.2012
Sammy Sacks {New Life for Torn Dog Toys}
I bet we all know a dog that 'kills' stuffy toys. Well, apparently Sammy is one of those dogs. I talked to our trainer about it and as it turns out 'gutting' or pulling out the stuffing and/or squeakers is a very instinctual behavior that is stronger in some dogs. Katie didn't really ever go through this. In fact, she even still has some of her puppy toys from five years ago. So, I feel really unprepared for this whole experience with Sammy.
This is a typical scene in the house. I'll spare you the pictures where the stuffing is everywhere and she's still pulling material out or ripping the fabric. Dogs! Does this count as eating for Tasty Tuesday over at Sugar the Golden Retriever? Sammy sure thinks it does.
Being the dedicated dog momma I am, I would pick up the fluff, stuff it back into the toy, and sew the opening closed again. I've done this so many times. But over the last two weeks it's gotten to the point that I would 'fix' a toy and Sammy would have it ripped apart in a matter of minutes. Argg! She has even evolved to finding the sewn closure and specifically ripping that spot open. She knows it's a weakness in the toy. Argg again!
So, here's what I did. I went through the dead toy pile and pulled out a working squeaker. Put it into the torn squirrel you see pictured and sewed him back together.
I took some left over home decorating weight fabric and cut a piece to accommodate the size of the toy. Go ahead and put the right sides together and sew a double seam around three sides of the square.
And since I'm using fabric is a fun way, I'll be sharing this at Fabric Tuesday at Quilt Story. Maybe it will help other dog mommas!
Now, turn the sack right side out. And admire the cute elephants. Notice I'm using brown colored fabric. That should mask some of the dirt, slobber, fur since it will be living in a dogs mouth.
Yup, you guessed it. The toy is now put in through the remaining open side of the sack. I said a few words for Mr. Squirrel. He's been a favorite toy of both dogs for some time now and I'm sad to see him go, but this should be a safer resting place.
Tuck the opening flaps inward, pin, and sew another double seam all the way around the sack.
Did I get a finish photo, nope. Forgot. Sammy nearly pulled the 'toy' out of my hands when I finished. Did I get a photo with Sammy running around with her 'Sammy Sack' -- nope. I was laughing way way too hard. She's a clown.
So far, this reinvention of soft toys has been a huge success! Sammy and Katie both love trying to figure out what's inside and have no problem squeaking it. They have used it as a tug toy between them rather roughly. And I think I even saw Sammy laying down with it; she's probably scheming how to get to the 'guts'. But, here we are on day four and the sack has survived! That's victory around here!
I think more Sammy Sacks are in our future since we have a lot more soft toys to save. And I think I might even use old jeans for the next ones since that fabric should be able to take the abuse. Plus, it's reusing times two; once for the dead toy and once for the dead jeans! I'll try and check in later in the week with the status of the toy and with a playing picture.
Do you know a dog that could use a Sammy Sack?
This is a typical scene in the house. I'll spare you the pictures where the stuffing is everywhere and she's still pulling material out or ripping the fabric. Dogs! Does this count as eating for Tasty Tuesday over at Sugar the Golden Retriever? Sammy sure thinks it does.
Being the dedicated dog momma I am, I would pick up the fluff, stuff it back into the toy, and sew the opening closed again. I've done this so many times. But over the last two weeks it's gotten to the point that I would 'fix' a toy and Sammy would have it ripped apart in a matter of minutes. Argg! She has even evolved to finding the sewn closure and specifically ripping that spot open. She knows it's a weakness in the toy. Argg again!
So, what to do? I had made a huge 'dead' toy pile on the dining room table and needed to either throw them out or reinvent them. I don't like the idea of throwing them out -- feels like a lot of wasted money.
I took some left over home decorating weight fabric and cut a piece to accommodate the size of the toy. Go ahead and put the right sides together and sew a double seam around three sides of the square.
And since I'm using fabric is a fun way, I'll be sharing this at Fabric Tuesday at Quilt Story. Maybe it will help other dog mommas!
Yup, you guessed it. The toy is now put in through the remaining open side of the sack. I said a few words for Mr. Squirrel. He's been a favorite toy of both dogs for some time now and I'm sad to see him go, but this should be a safer resting place.
Tuck the opening flaps inward, pin, and sew another double seam all the way around the sack.
Did I get a finish photo, nope. Forgot. Sammy nearly pulled the 'toy' out of my hands when I finished. Did I get a photo with Sammy running around with her 'Sammy Sack' -- nope. I was laughing way way too hard. She's a clown.
So far, this reinvention of soft toys has been a huge success! Sammy and Katie both love trying to figure out what's inside and have no problem squeaking it. They have used it as a tug toy between them rather roughly. And I think I even saw Sammy laying down with it; she's probably scheming how to get to the 'guts'. But, here we are on day four and the sack has survived! That's victory around here!
I think more Sammy Sacks are in our future since we have a lot more soft toys to save. And I think I might even use old jeans for the next ones since that fabric should be able to take the abuse. Plus, it's reusing times two; once for the dead toy and once for the dead jeans! I'll try and check in later in the week with the status of the toy and with a playing picture.
Do you know a dog that could use a Sammy Sack?
1.01.2012
Farewell 2011 {A Look at Favorites}
Puppy & Dirt {Snow} Favorites
Creative Tuesday Favorites
Quilting & Sewing Favorites
Some of my favorites from 2011 as a way to say farewell... and welcoming 2012 with the same gusto and excitement!! Here's to totally creative year filled with puppies, dirt, and sewing!
11.19.2011
Friday Night Sewing {results}
Had a great night sewing and made a lot more progress on the NY-NY binding -- almost done, cleaned off my desk and workspace nicely, loaded a few bobbins, watched the movie 300, and made some serious progress on this confetti quilting piece of Shadow and Timber.
Here is Shadow and Timber in progress...
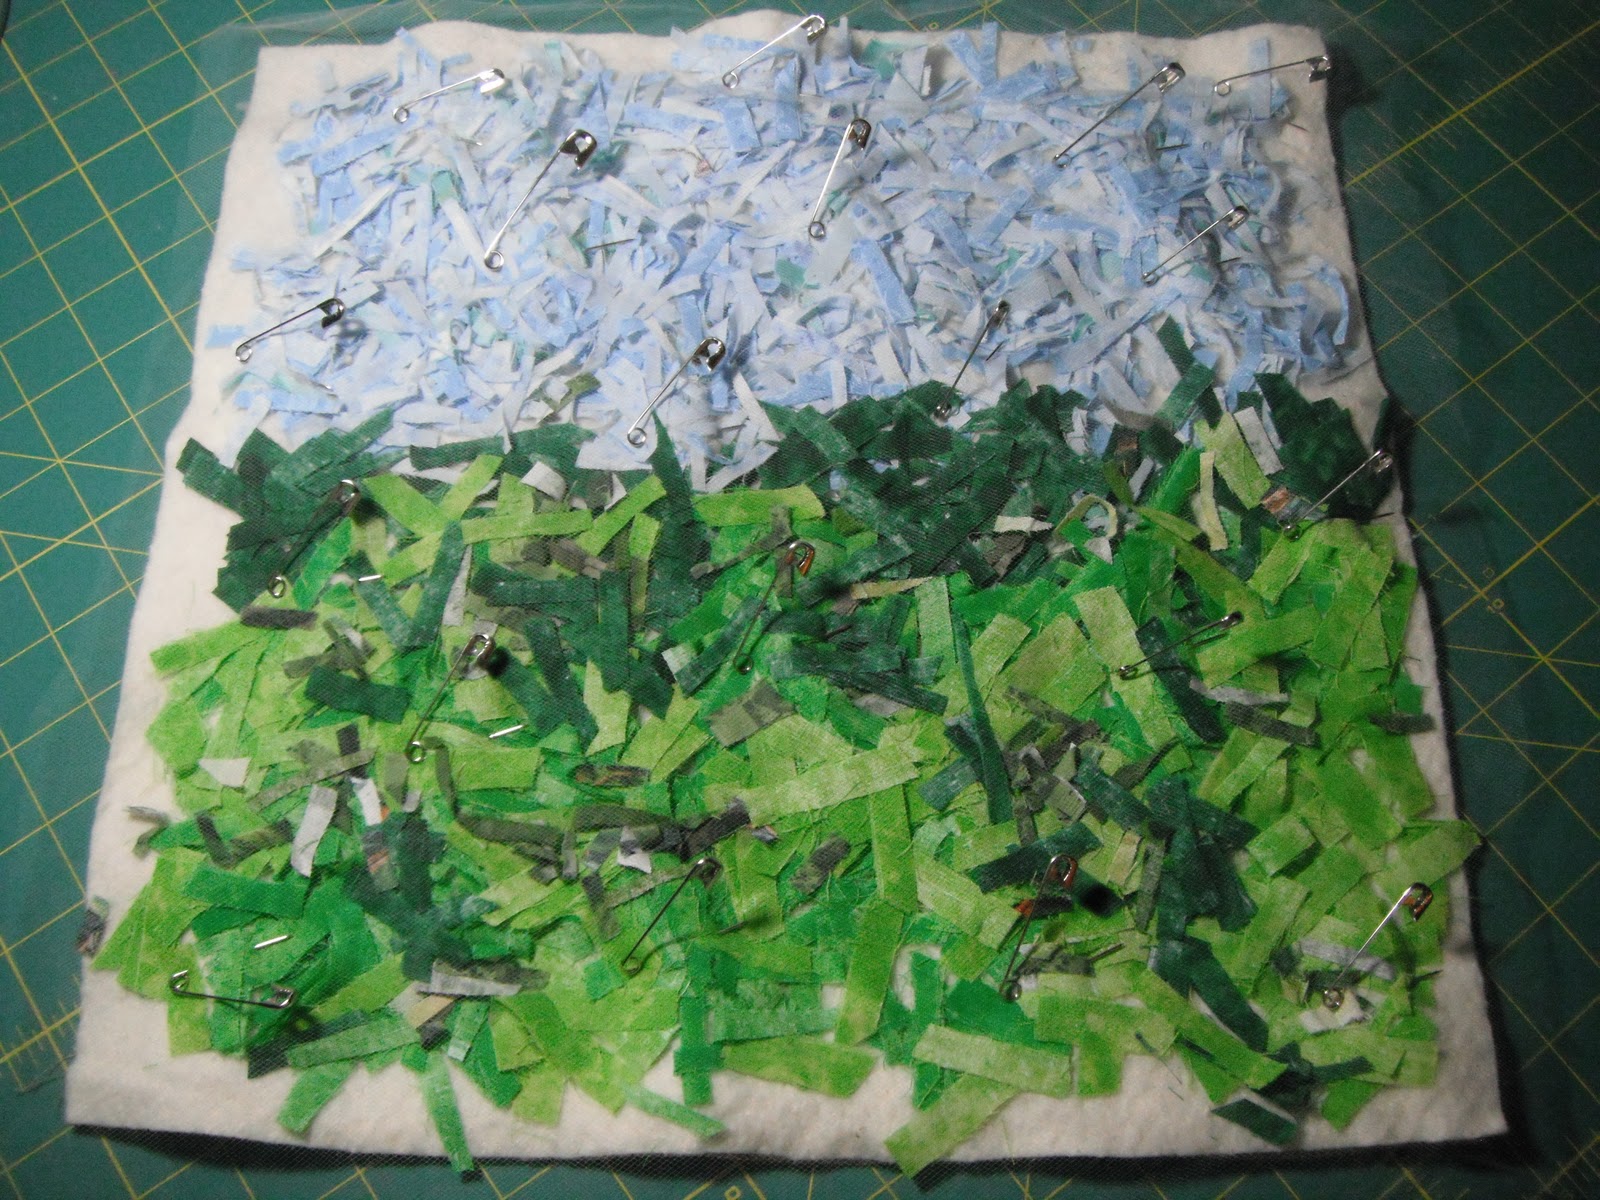
The confetti was laid out to create the grass and sky.
A close up of all the tiny scraps.
The meshing is overlaid and then pinned down.
Start to sew and secure the pieces in place as you go.
A look as some of the colors that are going in.
Most of the pieces are secured and textured at this point.
I start pulling fabrics for the details of the dogs, red frisbee, trees in the background, and picnic blanket. I also cut out the pups Shadow and Timber from a print out to get a template for their bodies.
Shadow was cut out of black fabric and Timber out of white. I still have the paper templates laid on top and everything is pinned in place to get a feel for the placements.
And a close up view.
I'm really excited with how this piece is turning out! I still need to sew all the pieces in place, finish planning the trees and sky, decide if I like how the picnic blanket is rumpled, make a picnic basket and then it's off to finishing details like the dogs eyes and nose, the dogs collars, and maybe some flowers.

Can't wait to peak around and see what everyone else did. You can see the other participants here!
Here is Shadow and Timber in progress...
The confetti was laid out to create the grass and sky.
A close up of all the tiny scraps.
The meshing is overlaid and then pinned down.
Start to sew and secure the pieces in place as you go.
A look as some of the colors that are going in.
Most of the pieces are secured and textured at this point.
I start pulling fabrics for the details of the dogs, red frisbee, trees in the background, and picnic blanket. I also cut out the pups Shadow and Timber from a print out to get a template for their bodies.
Shadow was cut out of black fabric and Timber out of white. I still have the paper templates laid on top and everything is pinned in place to get a feel for the placements.
And a close up view.
I'm really excited with how this piece is turning out! I still need to sew all the pieces in place, finish planning the trees and sky, decide if I like how the picnic blanket is rumpled, make a picnic basket and then it's off to finishing details like the dogs eyes and nose, the dogs collars, and maybe some flowers.
Hope your sew-in was a huge success!!
Can't wait to peak around and see what everyone else did. You can see the other participants here!
11.18.2011
I blinked and the week went by. Whoa!
And I sure haven't taken many pictures lately with the whole getting dark early thing, but one thing I have been enjoying are the spectacular colors through the tree silhouettes in the mornings.
Tonight you will find me here at my sewing machine, because it's a Friday Night Sew-In!! You can read more about what they are over at Heidi's blog. So happy to have the kick in the pants to dig deep, put my book down and get some sewing time in.
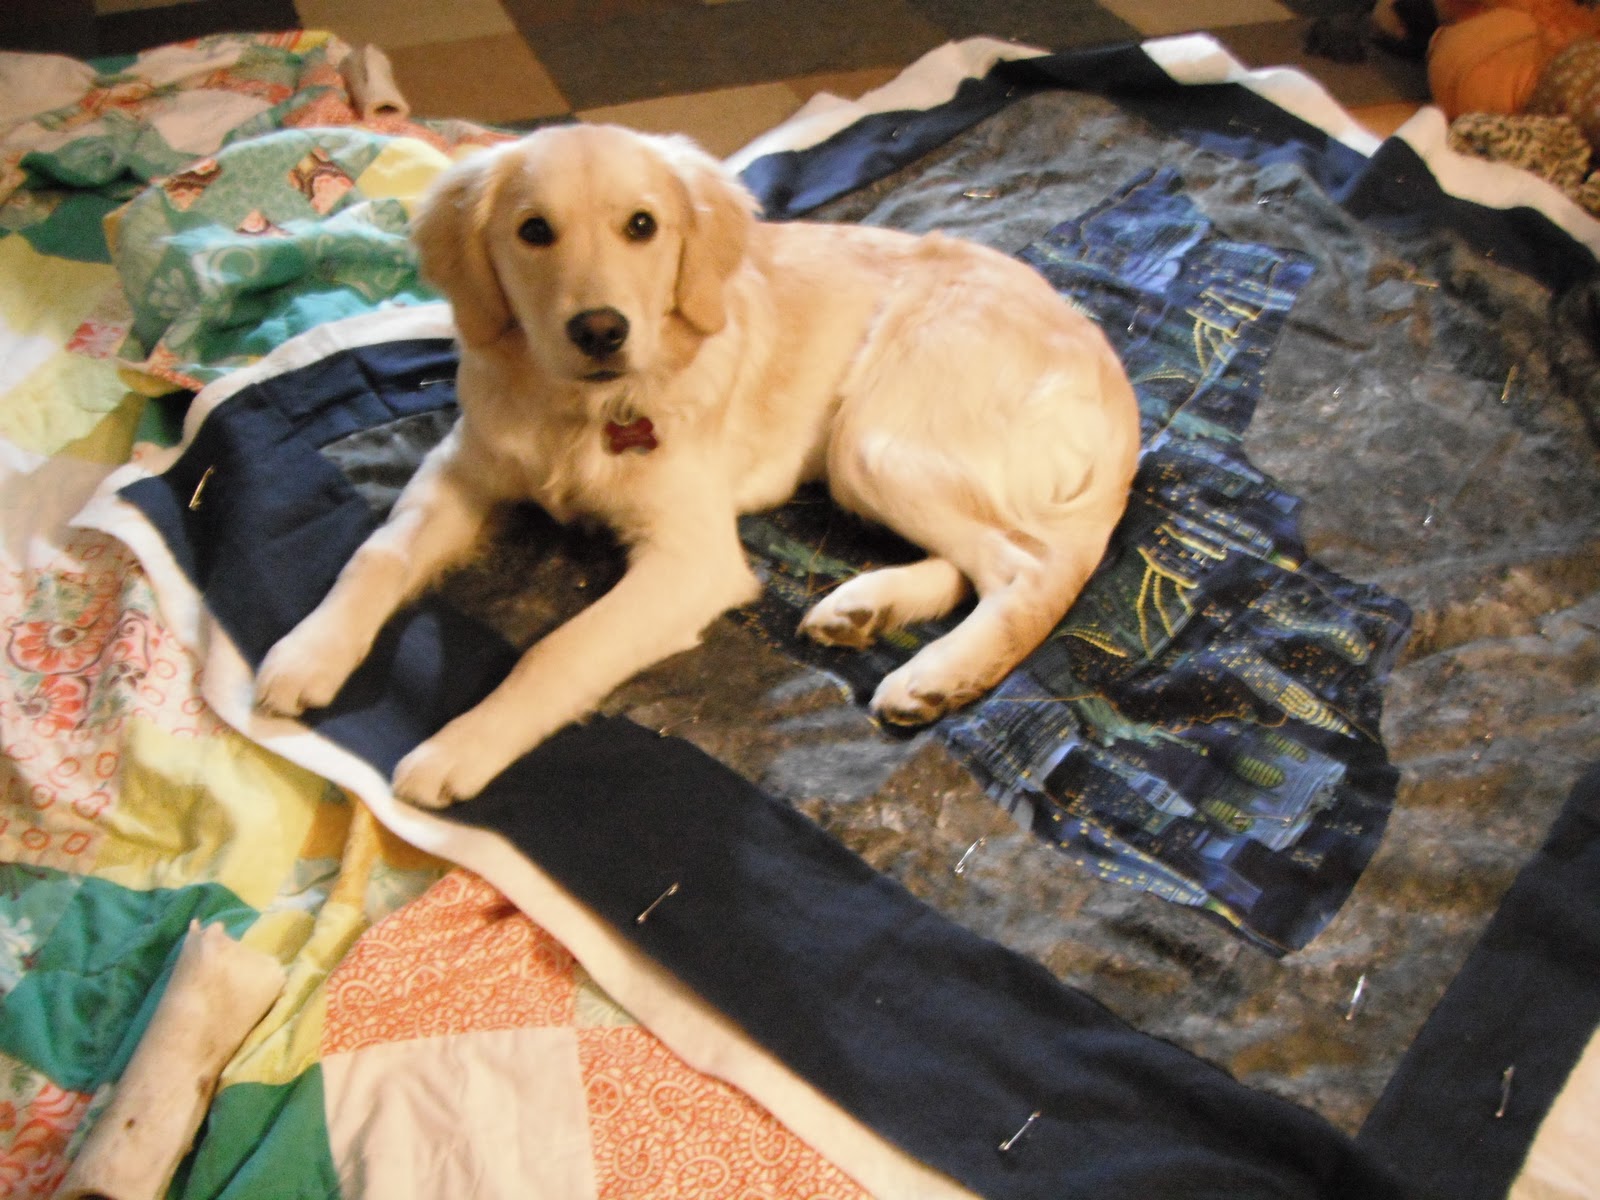
My plans for tonight you might ask? Well, no solid game plan, but I'm hoping to finish hand sewing the binding on NY-NY if Sammy is done inspecting the quilt. And we will see what else I get to. I might want to start with a little tidying of my desk or cut fabric for my Solids Only Tote Challenge.
Want to wish you a wonderful night of sewing and I'll be back tomorrow with what I get done!!
10.05.2011
Smiles for Sewing
--IN PROGRESS--
Confetti: Dog Path in the Woods
I showed you the start of this piece here and have to admit that I put it down again for a week or so mostly due to focusing all my efforts on finishing my X Marks the Spot Quilt.
Well, I recently hit an ahh-ha moment and went back to work on this and I can't be happier with how it's progressing.
I still want to bring out the ferns in the forest floor, add detail to the dogs, and possibly incorporate beading for tree leaves, but it's just all blooming right in front of me.
I can definetly see starting another one of these... probably bigger and fall colors are going to be a must!

Crewel Spring Flowers
The yellow flowers are done and I am moving on to the bleeding heart. I forgot to take a new picture, but it's coming along nicely and I so enjoy the quiet stitching!!
Big Blue
Still waiting for one last sashing row to be cut out and attached.
This one is up next and I'd like to have it finished off in the next week or so.
{Insert Name Here}: Bottled Rainbows {ticker tape quilt-along}
I am looking froward to getting back to this one, and almost picked it back up yesterday, but need to be disciplined and finish up some of the other things I have oh so close to done.
Confetti: Dog Path in the Woods
I showed you the start of this piece here and have to admit that I put it down again for a week or so mostly due to focusing all my efforts on finishing my X Marks the Spot Quilt.
Well, I recently hit an ahh-ha moment and went back to work on this and I can't be happier with how it's progressing.
I still want to bring out the ferns in the forest floor, add detail to the dogs, and possibly incorporate beading for tree leaves, but it's just all blooming right in front of me.

Crewel Spring Flowers
The yellow flowers are done and I am moving on to the bleeding heart. I forgot to take a new picture, but it's coming along nicely and I so enjoy the quiet stitching!!
--ON PAUSE--
Big Blue
Still waiting for one last sashing row to be cut out and attached.
This one is up next and I'd like to have it finished off in the next week or so.
{Insert Name Here}: Bottled Rainbows {ticker tape quilt-along}
I am looking froward to getting back to this one, and almost picked it back up yesterday, but need to be disciplined and finish up some of the other things I have oh so close to done.
You haven't heard of it??... check it out here or read about our first project (Strawberry Pincushion).
This Week's Work in Progress (WiP) Stats:
Last WiP Wednesday Total: 7
New Projects: 0 (nadda, well sorta, but let's say nadda)
Finished Projects: 1 (X Marks the Spot is done!)
Total WiP's: 6 (same as last week)
8.26.2011
Happy Moment #38: Happy as a...
A Friday ritual with Soulemama. A single photo - no words - capturing a moment from the week. A simple, special, extraordinary, happy moment. A moment I want to pause, savor and remember.
If you're inspired to do the same, leave a link to your 'moment' in the comments too!
日本のための多くの愛
Much love for Japan
If you're inspired to do the same, leave a link to your 'moment' in the comments too!
“Be happy for this moment. This moment is your life.”
~Omar Khayyam
日本のための多くの愛
Much love for Japan
8.23.2011
Groovy Gathered Clutch with Dots and Coffee!
I have had this Gathered Clutch from Noodlehead on my want to do list for some time now. And guess what? I did it. I decided a few nights ago that I wanted to start something that I could finish the same night... and this is much more doable than a whole big quilt in one sitting.
I read through the materials list and then started to gather up my supplies. For fabrics I pulled Michael Miller Baby Feelin Groovy in Charcoal, Michael Miller Dumb Dot Gray, and Saturday in Brown. I also grabbed my fusible interfacing (first time using it) and a gray zipper.
I started to cut all the pieces as the instructions were wrote and started to see that there maybe a better fabric match to line the clutch. I grabbed this coffee pattern (sorry I don't have the name of it handy). I was tickled because it has the same light blue tone!
As promised this clutch really did come together rather quickly. Here is a look at my gathered front.
I'm so proud, I even figured out how to use the basting stitch on my sewing machine for the first time which is used to create the gathers!
Here are the credit card slots for the lining. Yup, those chocolate kisses and coffee cups are perfect!
And here is the clutch all put together! Another first for me was using the zipper foot on my sewing machine. I have only had it a few months now and apparently haven't strayed far from quilting. It wasn't nearly as scary as I remember it being to use the zipper foot.
I enjoyed the technical challenges that this little project posed. They were like good reminders to help me brush the dust off some of my sewing skills.
And here is a quick peak in the clutch.
Yup, I'm pretty smitten with this one. I am working my way up a little into trying to sew a few skirts or a dress. I also can see making this clutch a few more times. I already have a few other color schemes in mind and I have a few ideas for how I might tweak the design a bit.
Just goes to show that sometimes you should just take the leap. Go for it. Give it a whirl. You may be really proud that you did!!
I am sharing this at Fabric Tuesday at Quilt Story as well as a few other parties from my weekly party list!

I read through the materials list and then started to gather up my supplies. For fabrics I pulled Michael Miller Baby Feelin Groovy in Charcoal, Michael Miller Dumb Dot Gray, and Saturday in Brown. I also grabbed my fusible interfacing (first time using it) and a gray zipper.
I started to cut all the pieces as the instructions were wrote and started to see that there maybe a better fabric match to line the clutch. I grabbed this coffee pattern (sorry I don't have the name of it handy). I was tickled because it has the same light blue tone!
As promised this clutch really did come together rather quickly. Here is a look at my gathered front.
I'm so proud, I even figured out how to use the basting stitch on my sewing machine for the first time which is used to create the gathers!
Here are the credit card slots for the lining. Yup, those chocolate kisses and coffee cups are perfect!
And here is the clutch all put together! Another first for me was using the zipper foot on my sewing machine. I have only had it a few months now and apparently haven't strayed far from quilting. It wasn't nearly as scary as I remember it being to use the zipper foot.
I enjoyed the technical challenges that this little project posed. They were like good reminders to help me brush the dust off some of my sewing skills.
And here is a quick peak in the clutch.
Yup, I'm pretty smitten with this one. I am working my way up a little into trying to sew a few skirts or a dress. I also can see making this clutch a few more times. I already have a few other color schemes in mind and I have a few ideas for how I might tweak the design a bit.
Just goes to show that sometimes you should just take the leap. Go for it. Give it a whirl. You may be really proud that you did!!
I am sharing this at Fabric Tuesday at Quilt Story as well as a few other parties from my weekly party list!
Subscribe to:
Posts (Atom)