Showing posts with label bake. Show all posts

2.23.2012

Homemade Dog Biscuits

I made homemade dog biscuits. 


It was so easy.


And the dogs went totally ga-ga for them which makes me feel even better about doing it!

(They may not look so ga-ga here, but I took this after telling them that they have a wait a few more minutes for the cookies to cool off from the oven.  The waiting might have killed them.)


I used a dog bone cookie cutter, but also has a little fun and made their first name letters. 

K is for Katie.

S is for Sammy.


Once the cookies were cooled enough... off to the cookie jar they went. 


And yes of course my assistances had to help with the quality testing. 

I just love Katie's big smile on the right... and Sammy always look so darn serious. 


I originally saw the recipie at Suzy Sitcom and have since made about 6 batches.  I make them two at a time and have put the extra cookies that don't fit in the jar in the freezer.  I also switched out the pumpkin for banana + a water in one batch and it worked out well.  I also intend to try acorn squash in place of pumpkin.  I bet that will work too! 

Ingredients:
2 1/2 cups whole wheat flour
2 eggs
1/2 cup canned pumpkin
2 tablespoons peanut butter
1/2 tsp. salt
1/2 tsp. cinnamon
Happy baking!

7.27.2010

Honey Chocolate Chippers


I am still playing around with the traditional chocolate chip cookie recipe to try and find my own spin on this tasty treat.  This time around I prepared the cookie batter recipe as it is on the back of a chocolate chip bag... with a few small changes:

One: I replaced half of the brown sugar with dark sweet honey.  And oh honey... this was one delicious cookie!  Made a much smoother dough too!
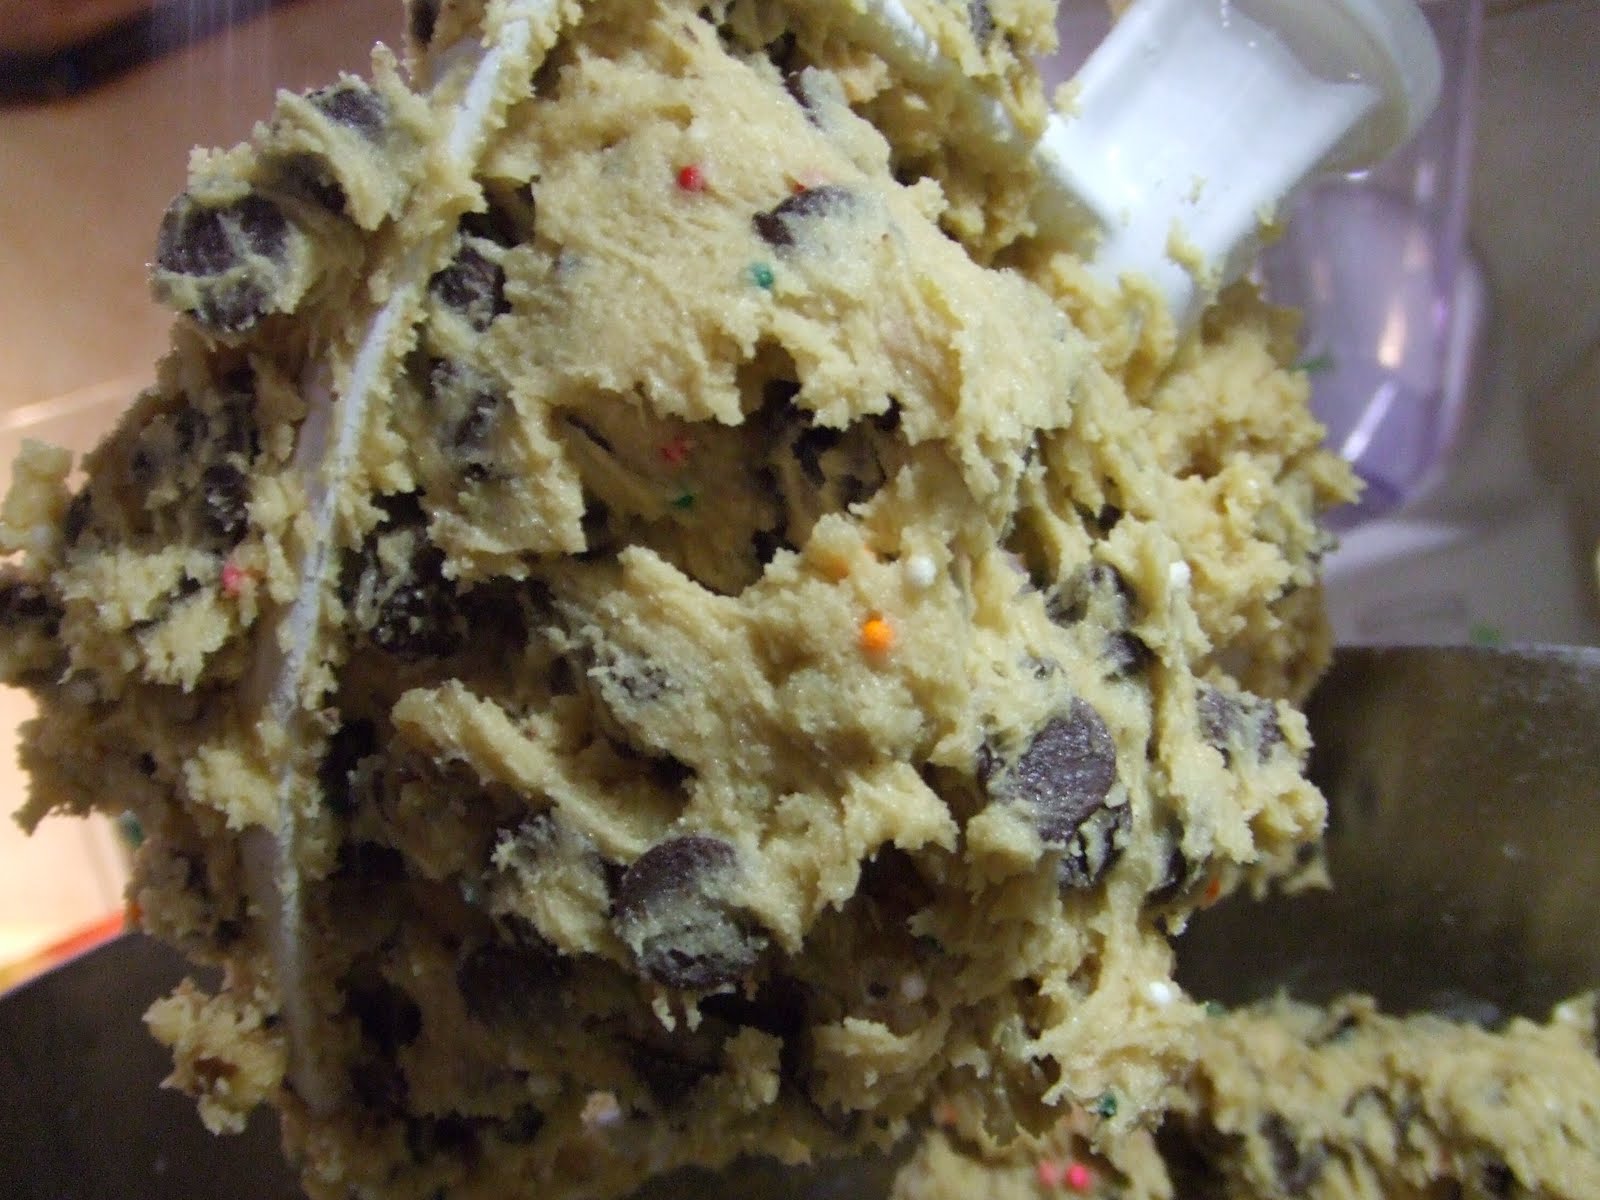
Second: I put a ridiculous amount of sprinkles in the batter which is where we pick up this story.

Who says sprinkles are only for ice cream?  Why can't they go in chocolate chippers?  I had no idea what to expect from the tiny dots of color.  Would they melt into the dough and turn the cookie colors.  Would they stay round and crunch when you ate the cookie?  No clue.  That's what experimenting is for, right?

The dough was ready to go. 

Have I shown you the coolest utensil in my kitchen yet?  Yup, it's a cookie scooper.  Similar to a melon baller, but this little baby is responsible for a consistent sized cookie, which leads to a consistent cookie goodness! 

You see the orange part?  That part is a flexible rubber material that you can push in to aid in getting the cookie dough out.  I can't think of a cooler thing in the kitchen!

Here it is going in.  Scoops away!

See how uniform and consistent the cookie drops are?  Yes, that's my analyst side smiling.

Consistent cooking means each cookies is chewy and amazing!!  You can add a minute or two extra if you like the crunchy cookies.  In the Happy household we are all about the chewiness!

I sometimes find myself getting lazy to make up all of my batter.  Here is a simple way to work around having to make up all 99 million cookies. (And then having to eat them all at once.)

Cut a large sheet of wax paper and lay on a flat surface like so.

Put a big 'ole blog of dough on the same sheet toward the center.

Make the blob into a log with your hands, gently forming it.


Cover it up with the wax paper.

Put in a freezer safe zippy bag and toss in the freezer.  For my own sanity I use a sharpie to remind me what kind of cookies these are, when I froze them, how hot an oven they require, and how long to stick them in for. 

This also means that Mr. Happy can get his cookie fix with little help from me :)

When you want cookies, just remove the cookie roll from the freezer.  Unwrap.  Slice the roll in to somewhat thick slices.  Arrange on the pan.  And cook according to the handy directions you jotted down for yourself.

Voila.  Cookies!

What's your fun spin on a traditional cookie recipe?

Happy baking!

1.09.2010

Put cocoa and cheyenne where?

All you need are cocoa powder and cheyenne pepper to make breakfast  a wee bit more special this weekend.  Who's in the mood for waffles Happy Style?

Here I have already added most of my ingredients to my bowl. 


The ingredients include: Bisquick (I know it's cheating, but why not) -- I mostly followed the recipe on the Bisquick box: 1 egg, milk, vegetable oil... and then I got a little bit creative. 


 Also add: 1 tablespoon of cocoa -- I may even add more next time I make these Happy Style waffles.  This amount lent a rich yet not overwhelming flavor to the waffles.


Last secret ingredient (not so secret any more as you have seen me add this to a few things now)... Cheyenne pepper.  If shook a few dashes on the top of the  bowl.  Don't think of this pepper as adding real heat to things.  Think of this as adding warmth. 


Here is what it looks like now.  See those tiny reddish specs of warmth sprinkled around?


Mix everything up.  I use a whisk... because they are fun to use.  Then get out your trusty 1/3 measuring cup.  That's the trick I use to get the waffle batter into the waffle maker.  It's just about the right amount of batter to fill up each spot and that way I don't make too much of a mess.  Give it a shot.


Here is the batter scooped into the waffle maker.  In this case, I am still using a Belgium waffle maker.  It makes a nice brown crispy waffle and the two spots are the perfect amount to make for Mr. Happy and I as we laze around during breakfast.


Close the maker... and now I watch as the steam pours out and wait for those little lights to turn.  The green cook light turns on when the waffles are done!


This is seriously the hardest part of the recipe... waiting for that little light.  But it's pure bliss when that light comes on!  GREEN!!


Oh YUM!  I had the butter and syrup standing by and as soon as those waffles come off the maker they go right on to a plate!


Bon appetit!!!

Making an easy recipe a tiny bit more special = happiness!

Have a fantastic weekend!  See you back with more Happy thoughts on Monday!

Related Posts with Thumbnails