Showing posts with label baking. Show all posts

9.24.2012

Baked Apple Cider Donuts {baking notes}

I saw a pin on Pinterest for Apple Cider Donut Holes recently, and pretty much dropped everything and made a batch.  You know... for testing purposes.  The recipe originally comes from Feastie, however, I'd like to share the baking notes I've made after two batches. 

These donuts are totally tasty and baked... so healthy, right?  Plus, they give me an excuse to use my mini cupcake pan.  Love that!


{recipe from Feastie -- link here -- but re-posted so we can talk about small changes I made}

Ingredients:
  • 2 cups flour
  • 1 1/2 tsp baking powder
  • 1 1/2 tsp baking soda
  • 1/2 tsp salt
  • 2 teaspoons cinnamon  {I also added pumpkin pie spices to kick the taste up a notch}
  • 1 large egg
  • 2/3 cup brown sugar
  • 1/2 cup apple butter  {I successfully replaced apple butter with apple sauce}
  • 1 tsp vanilla extract
  • 1/3 cup honey
  • 1/3 cup apple cider  {I successfully also made these with apple juice}
  • 1/3 cup plain yogurt  {I was able to skip this ingredient and use 1/3 cup more apple sauce}
  • 2 Tbsp canola oil
  • canola cooking spray
  • 2 Tbsp unsalted butter
  • 1/4 cup sugar
  • 1 Tbsp cinnamon
Instructions:
  1. Preheat oven to 400 degrees and spray a mini muffin cupcake pan with cooking spray. 
  2. In a large mixing bowl, combine the flour, baking powder, baking soda, salt, and cinnamon. 
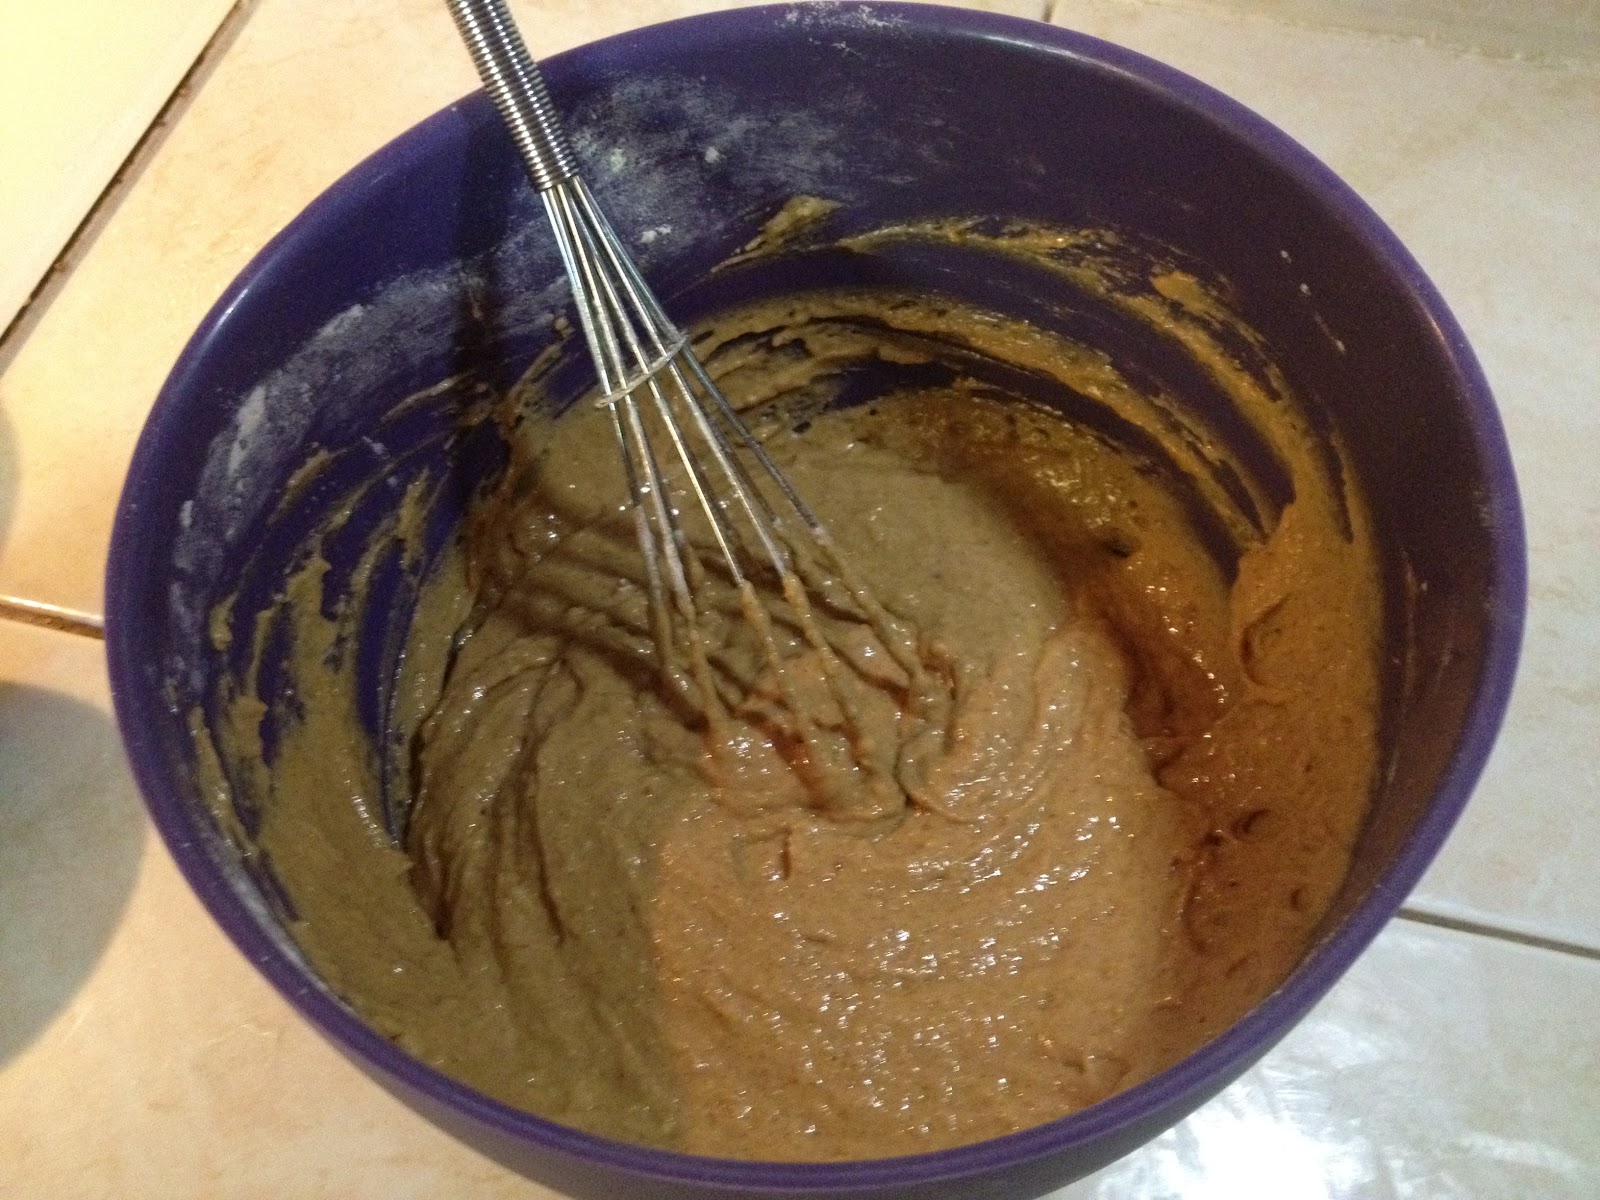
  3. In another large bowl, whisk together the egg, brown sugar, apple butter, vanilla extract, honey, apple cider, yogurt, and canola oil. Pour the wet ingredients into the dry ingredient mixture and whisk until just incorporated. Don't over-mix - a few lumps are okay. 
  4. Using a tablespoon or cookie scoop, fill a 24-hole mini muffin pan with the batter; fill each hole only 3/4 of the way, or you'll end up with huge mini muffins (maxi muffins?). Bake for approximately 10-12 minutes and cool on a wire rack. 
  5. While donut holes are still warm, melt butter in a microwave safe dish. Combine cinnamon and sugar in another dish. Using a pastry brush, very lightly brush a tiny bit of melted butter onto the top of each donut hole, then dip the top of the muffin in the cinnamon sugar mixture. Roll the donut hole in the cinnamon sugar to coat the sides and top. Serve warm or at room temperature.
The instructions (#2 and #3) say to mix the dry ingredients in one bowl and the wet ingredients in another bowl... and I actually followed this suggestion and it worked out really well.  I encourage you to do the same!  I'm saying this because I'm the type of person to usually skip the second bowl parts of recipes.


A cookie scooper worked out really well to get the batter in the tiny baking pan wells.


Here are the donut holes fresh out of the oven and piping hot.  I used a tooth pick to test if they were done.


Did I mention these are stinkin' hot?  My Tip... use the tooth pick to also get each donut hole out of the pan.  Sticking the tooth pick in the center allowed me to simply pluck each one out and put on a cooling rack.


I know the recipe says it makes 24 donut holes.  I made more.  I think I came out with nearly double that.  It's all about how much you fill the wells with batter.  I found that about half way full made a good bite size donut.


I did cover my donuts with the cinnamon and sugar mix.  A short cut for this part is to melt the butter in a small bowl -- you can see my small blue one below.  Then I took each donut and dunked the top in the melted butter, then rolled around in the cinnamon and sugar mix. 


In Batch #One, I replaced the apple butter and yogurt with apple sauce and also used apple juice in place of apple cider.  This batch was so light and fluffy.  Not heavy and they browned nicely.

In Batch #Two, I again replaced the apple butter with apple sauce (simple an ingredient I didn't have handy either time), but followed the rest of the recipe.  This batch was really good too.  I didn't notice much difference between the apple juice vs. apple cider.  However, in this batch the donuts were a little denser, a little tougher.  Still incredible.  I'm not sure if it's the addition of yogurt or that I over stirred the batter this time. 

I swear these little bites turn invisible before your eyes and I can certainly see making these again really soon.  Enjoy!

7.30.2012

Making a Strawberry Tart

This was the first time I made a tart of any kind.  And what a fun experience!


Good to the last bite!

Hope your week is off to a sweet start!

7.09.2012

Mini Apple Pie Bites

I did a little baking for a neighborhood get together.  It went something like this.

Gather up assistant baker.  (That's Sammy)

Search for recipe I had seen recently on a blog.  Somewhere.  Didn't find it.  Ended up loosley following this one.


Dice three granny smith apples and add sugar, cinnamon and pumpkin pie spice to taste.


Check on number one dog to make sure she is doing ok.


Laugh when my picture taking wakes up Katie from her sun nap. 


Prepare a sugar and cinnamon mixture to coat the tops of the crescent pies.


Curse the heat from the oven on the hot day, but then drool from the smell of apple pie wafting through the house.  And jump for joy at how adorable these little crescent pies are.

To make: simply spread the apple pie filling on a crescent triangle then roll it up.  I then dabbed a bit of water on the top and then sprinkled the sugar mixture liberally.  Then cook them per the package. 


And were a beautiful golden brown.


Almost the same golden brown as these two.  Sammy's on the left, Katie on the right.  They took up the job of guarding the cooling pies. 


Then I did a little slice and dice to make single bite sized pie pieces.  Outta this world!  They are presented in a mini muffin papers so they are easy grab and go.


I don't recommend using the oven on a hot hot day, but these were sure worth it.  And a neighbor shared that she does this with chocolate chip filling to make quick and easy chocolate croissants.  Genius!!  I see many more of these in my future!

9.13.2011

Creative Tuesday: Kitchen

It's Creative Tuesday and I have to admit I almost bailed on this one.  I'll tell you why in a second... and why I'm glad I didn't.  Wondering what a Creative Tuesday is?  Every two weeks we grab our pads and something to color with to create for the theme over at Mr. Toast's Creative Tuesday's assignment -- neat, no?

This week's theme is Kitchen.  Wait, wha?  Like I should draw my kitchen?  Oh no.  Not good.  What could really be so interesting about a kitchen.  Hmmm.  ...days of thought later....

Funny story ----------  by now you may know... and if you your new in these parts, welcome! and I'll tell you... I have a five month old puppy.  Sammy... Sammy as in Samantha, ...is a golden retriever which is code word for too smart for her own good.  And did I mention that she is getting taller/longer/faster/nosier?
Do you see where this is heading?  Yup, countersurfing.  I think countersurfing is technically defined as a pup taking whatever they want off the counter... whenever they want to.  Oh, big trouble!  Katie, our four and 1/2 year old golden, also went through this very phase.  I thought I was well prepared.  And Sammy has schooled me that I am most certainly not.  And on the very same breath.. how cute is this picture!!

And so, we work on the commands "take it" and "leave it" ... as in take that toy of yours on the ground, and leave that yummy bacon on the counter.  And I am also learning to cook with my new kitchen buddy and it normally ends with me laughing so hard when she ends up with something like flour on her nose.  The whole experience led me down the path to a fun "kitchen scene" that I otherwise wouldn't have thought of... and boy am I glad I did!!

Creative-wise I did things a little differently this time, since Creative Tuesday is all about exploring styles.  I started with card stock paper, doodled the scene in pencil, traced it in pen, and then scanned it to the computer.  Then colored it all in using GIMP -- which is a free software download.  Phew. 

Interesting exercise.  I have so much to learn about digital coloring, if I may use that term, but I loved the experience.  And here is the result! For those of you wondering... this is Sammy in the drawing.  Katie is so tall she can just put her head on the counter without jumping.

I hope you consider joining in this or the next assignment (really hope you do) and please take a look other artists in the community here.   

I'd like to add that Sammy's good cooking will also be linked at Tasty Tuesday where you can share your tastiest things and pawsome recipes!

11.10.2010

Brownie Cookies

How do you decide between a craving for cookies and brownies?  That is a tough one, right?  My answer... make something that includes them both.

I started with a quick fudge brownie pre-mixed package.


I made up the mix according to the directions.

I then added a generous amount of chopped walnuts for a little extra crunch.


Stir them in.  I've been really into capturing more action in my photos lately.  Can you feel the stirring?


This is really what started the whole craving.  I had previously made a batch of chocolate chip cookies that ended up baking a little more crunchy than I like.  I am totally a warm out of the oven chewy cookie kind of gal -- I bet you pegged that already!

So, what do you do with overly crunchy cookies?  There are several options:
  • dunk them in milk to soften them up and then gobble
  • put them in your boyfriends, husbands, or kids lunches -- so they eat them instead of you
  • -- or -- reinvent them into a crunchy craving!
I choose lucky door number three!!  Here are those pesky crunchy cookies.


Pour the brownie batter in pre-greased pan like-a so.


Then crumble up those cookies and spread them all over the top of the mixture.  Ohhh ma goodness.. doesn't that just perk you up a little!?!

I popped this mixture in the oven for the package cooking time and here are the results!

Crispy.
Brown.
Mouthwatering.
Goodness!

A little crunch from the cookie pieces and walnuts.

A little gooey from the brownie.


I would definitely make these up again!  It's a fantastic way to use up cookies that are reaching the end of their life.  And it really is a nice surprise to bit into one -- and realize you can have the best of both baked worlds!

So a cookie brownie or a brownie cookie would be...

Brookies?
Crownies?

No matter what you call them... they rock!!

What have you experimented with lately? 

See other creative ideas at Dragonfly Designs for Inspiring Creativity Wednesdays!

5.24.2010

Strawberry Scones


I have had the urge to make strawberry scones for some time now.

And, I am excited that I was able to hide in the kitchen long enough on Saturday morning to whip up a batch.

I took fresh strawberries (1/2 cup chopped) and added them to a basic recipe to sweeten things up!
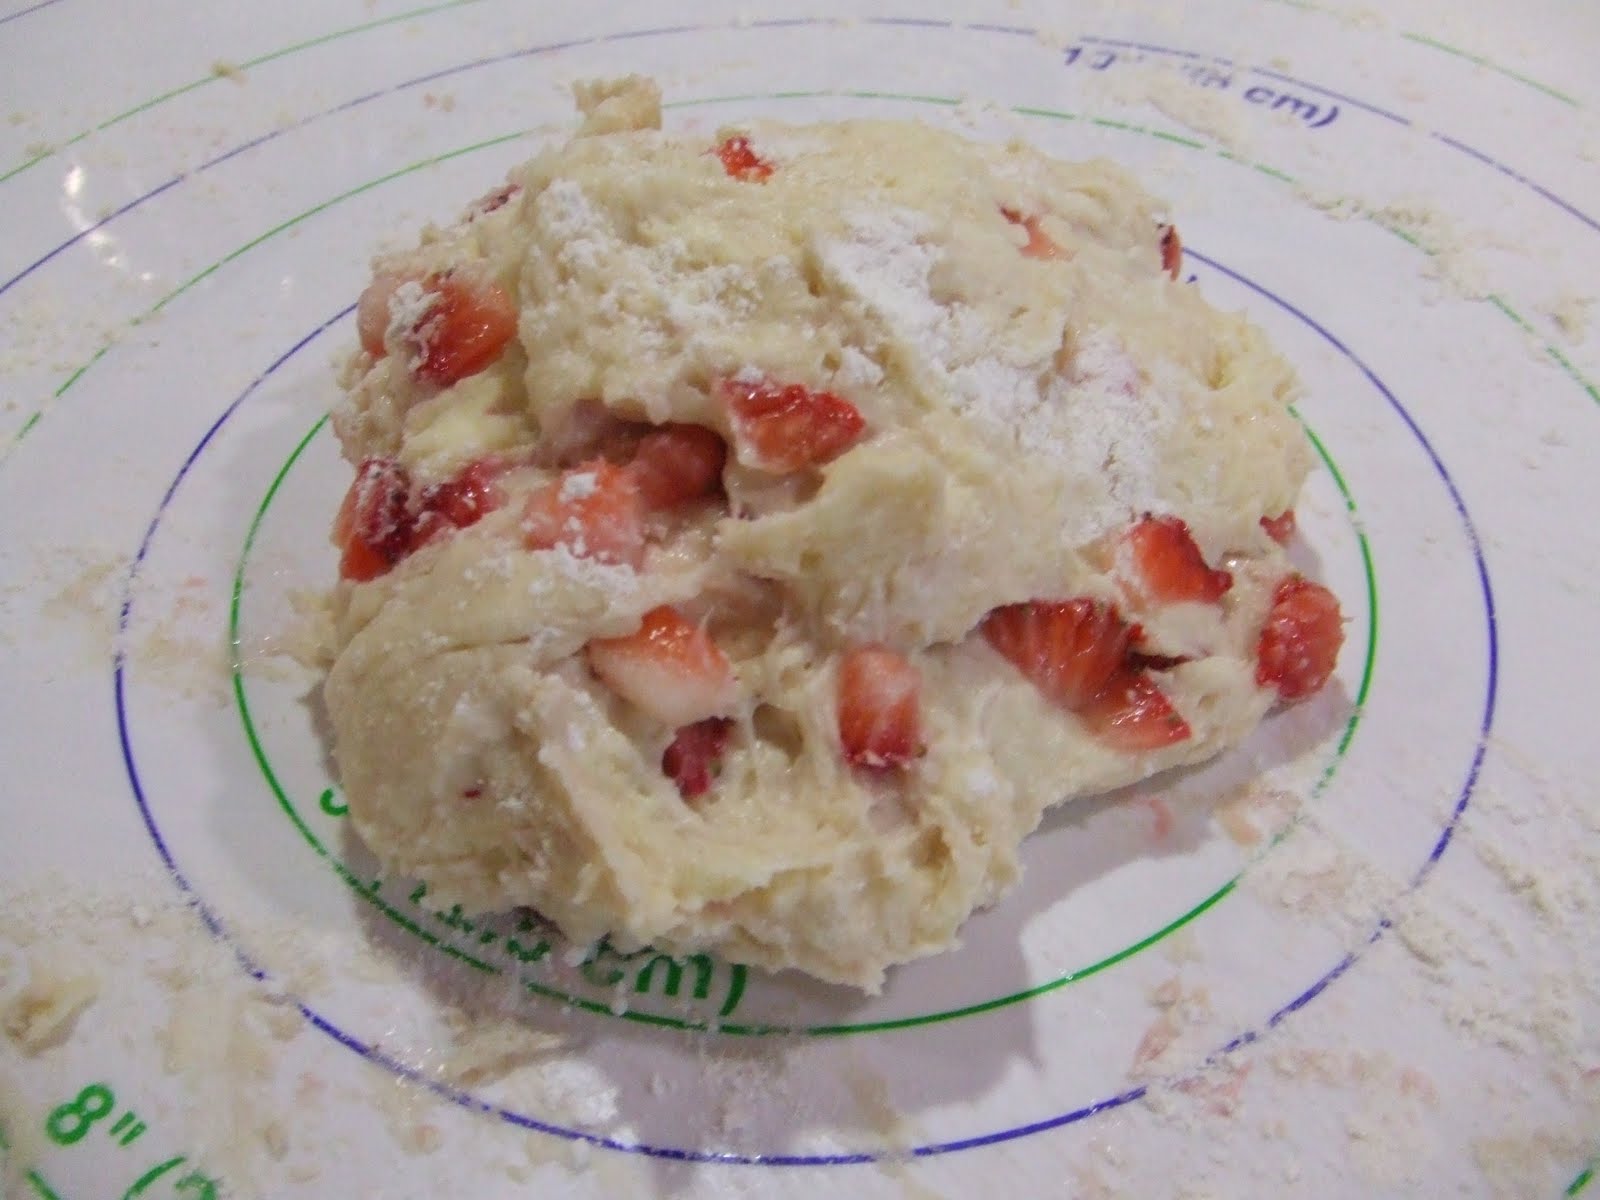
Here is what the dough looked like while I was shaping and cutting the blob into scones.
And now dropped onto a baking sheet.
Don't these look just down right delish-i-oso?  Minus that fact that they are raw dough and stuff.
And presto... 10-12 minutes (9 minutes for me in the convection oven)... and they are golden and steamy!
I about died seeing them all cooked up!  I had barely transferred them over to a cooking rack when I snatched one up and began devouring it!
These are the ones that made it to the rack.
I just adore the bits of strawberry that were poking here and there.  Gave them a really nice pop of color!
And then of course they needed a little drizzle.
Of icing that is.
A tablespoon or two of powdered sugar, vanilla extract, water, and lemon juice all mixed up made the perfect compliment!
Don't you just wish that was drizzling right on your tongue?
It was pretty good on the scones too!

And there you have it!  My craving was satisfied. 

I was covered in flour and butter which is second best to being covered in dirt from the garden. 

And my apron got some action.  My apron always appreciates when it gets some action! 

What have you whipped up for a craving lately?

Related Posts with Thumbnails