Showing posts with label pin cushion. Show all posts

4.03.2012

Ten Things Tuesday {& Mail Call}

The weather has been totally amazing and I have to admit that the whole Happy family has been finding every excuse to get outside and soak it all in.

There's always a lot of work to be done outside, but my goodness the amount of wood we have to split and move and stack and organize!  This effort is the result of the big heavy oak trees that came down in our October snow storm.  It's getting done little by little.  I am mostly in charge of the moving and stacking part. 

Sammy, who is still learning her off leash manners, found a very comfortable napping spot among the logs.  Those big heavy pieces also provided a great tie off spot for her lead!


Katie has been no slouch taking in the sunshine.  In fact, I know that I could even learn a thing or two about how she has mastered living in the moment. 

Fully.  Completely.  Like no one's watching.  Or she doesn't have a care!


Doesn't she just have the best smile!


One of Sammy's favorite things is ice cubes.  With the recent warm weather I got to introduce her to the floating ice cube game.  Take one dog bowl filled with water.  Dump in a handful of ice cubes.  And then prepare to laugh your stomach into knots as the dogs go bobbing for ice. 

Katie still snorkels with her nose in the water with this game.  Cracks me up every time!


I also got a package all the way from Australia!!  And I couldn't feel luckier to be able to give a home to these lovely treats!!  This was all a part of a fun pincushion and surprise swap I did with Megan from Silver Threads of Happiness.  Megan, thank you so very much!


I will be hanging this awesome crocheted mushroom in my sewing area and I just love the colors she picked... and look at how adorable the grass is!!  I also got those cute little glass mushroom beads.  Can you tell I have a thing for mushrooms?  I can't wait to dream up the perfect project for them!


The little tin is so very adorable (it had the glass beads tucked away in there)... I think I will be re-using the tin to hold my sewing bobbins.  Seems like the perfect size!  And coffee!!  I start my day with a nice big cup and I can't wait to try this one!


And then there are the pincushions.  In fact, I think these are what started the whole swapping thing.  I think I left Megan a comment saying how darn cute they were... and she offered to make me one... and I was very excited and wanted to make her something.  Next thing you know... we're swapping!!

I hope you can see how fantastic that forest and mushroom fabric is.  And yes, I got two pincushions!!  Pinch me!  They both have the same fabric on the back... and then one is decorated with the ric-rack while the other has a beautiful lace on the front.  They are so pretty.. how am I ever going to stick them full of pins?  

I feel so lucky for the friends I am meeting through this little blog of mine.  Amazing to know that real connections are still very present and even more fun when I find someone who understands my love of all things forests and mushrooms!!  *hugs, Megan*


Well, and that about does it.  Is spring springing where you are?  Spring things that are waking up here, like the tree in our back yard.  Did you spot Katie in this one? 


You know, this tree has bloomed each spring for the two years we have been in our house... and I kept saying that I wanted to get a picture of it.  It goes quick.  And now I can finally say I have one! 

Aren't these blooms amazing?

2.25.2011

Happy Moment #19: Quilt Designer

A Friday ritual with Soulemama.  A single photo - no words - capturing a moment from the week.  A simple, special, extraordinary, happy moment.  A moment I want to pause, savor and remember. 

If you're inspired to do the same, leave a link to your 'moment' in the comments too!


“Be happy for this moment. This moment is your life.”
~Omar Khayyam

2.05.2011

You Can Sew-a-thon - Strawberry Pin Cushion

What is You Can Sew-a-thon!! ??

This adventure is designed to build confidence in a new sewist, kindle or rekindle the love of sewing, brush up sewing skills, and even encourage you to create a nice handmade something that can be given as a gift!   

Are you game?

First Project is a Strawberry Pin Cushion!!
--using this tutorial from V and Co. blog--


I have seen these on the Martha Stewart website, in my local fabric shop, and more recently at V and Co. where I was finally pushed over the edge to give this a go.  And, to my delight Vanessa created the perfect tutorial to follow!  So go over there and bookmark this page and together we will follow it to make a ton of cute strawberries in the 'nic of time for Valentines gifties for your sweet valentine or even just a few for yourself!

I mean, how cute would one of these be on a little gift box?

I always start by gathering up all my supplies.  After reading the tutorial and then trying one... here are the items I ended up using:


  • Fabric scraps in red/pink and green.  I also experimented with a totally non-traditional choice for a strawberry and love the outcome!
  • pen
  • thread
  • needle
  • sewing machine (not pictured)
  • yarn in place of the floss
  • bits of left over batting in place of polyfil
  • hot glue gun.  you know it's going to be a good project when you get to pull out the glue gun!
Following the tutorial directions I cut my fabric to size -- this felt like an easy part!


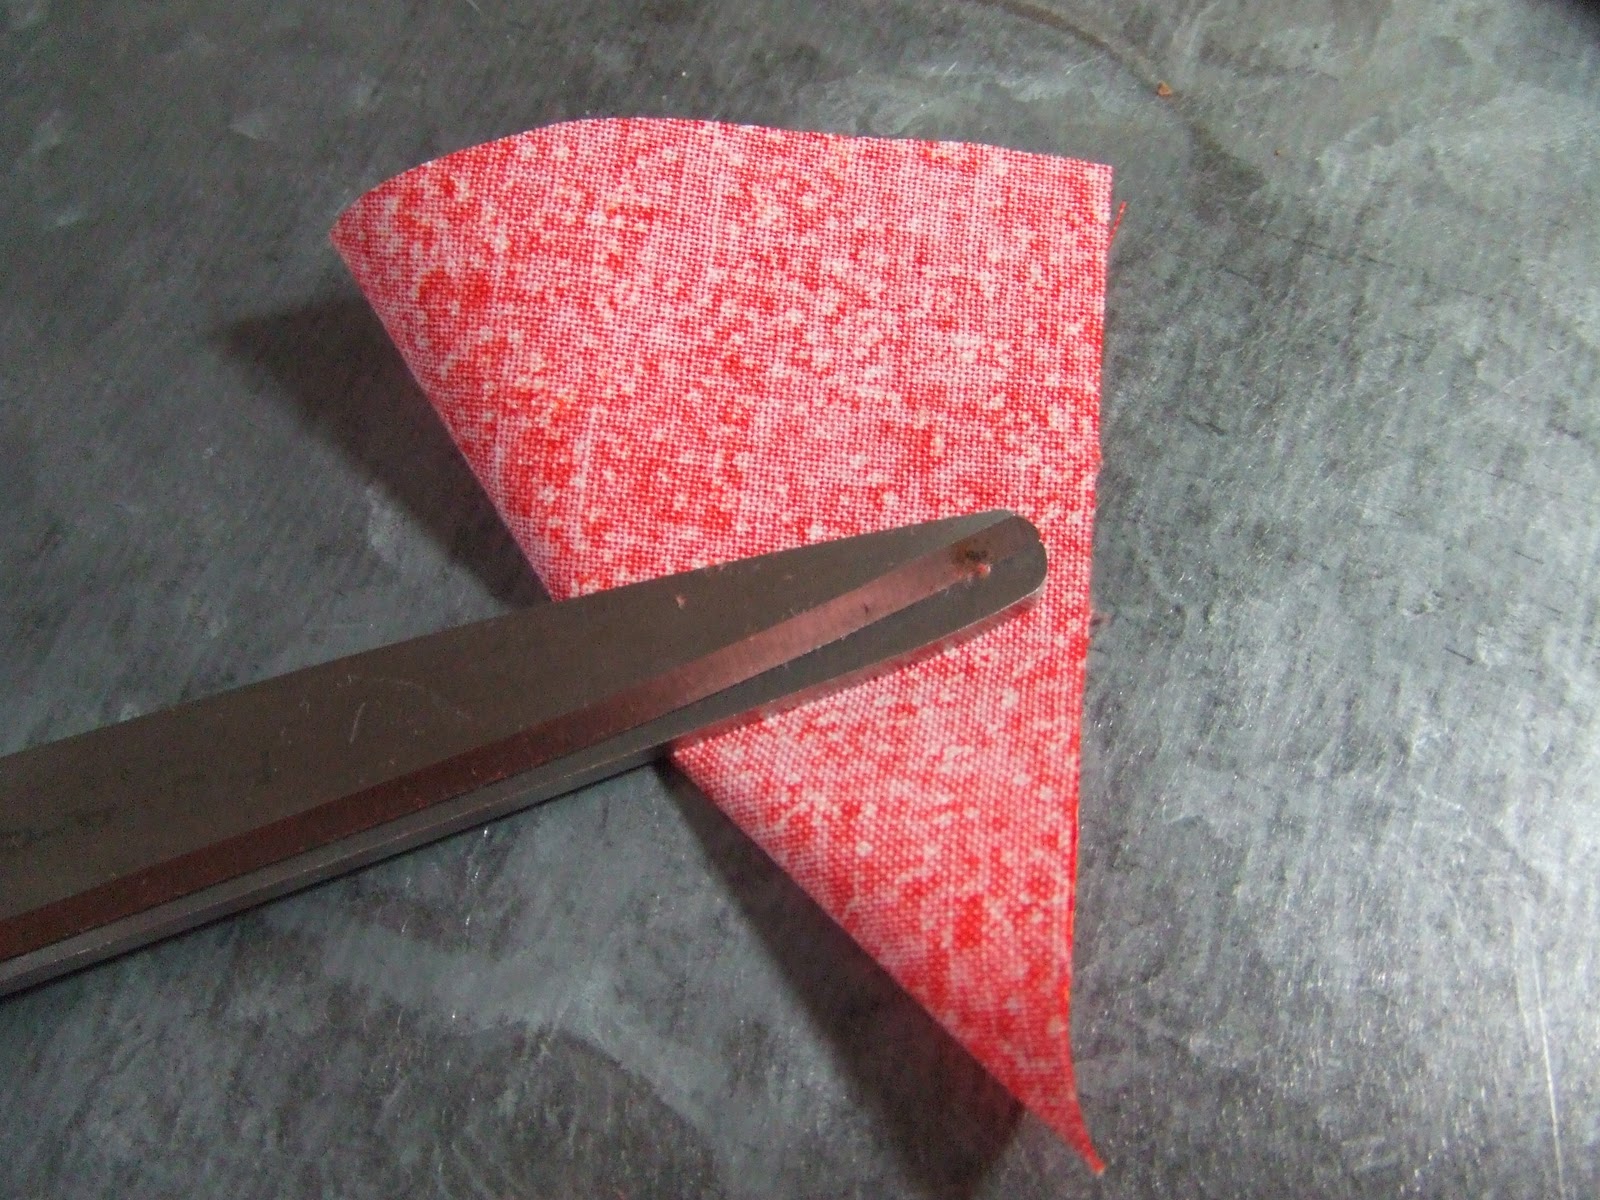
Next was making the ice cream cone shape.  I free handed the cut and came to find that this part is also very forgiving.  The shape isn't terribly important... since the curve becomes the top of the strawberry which I was happy to find out gets hidden with hot glue.  I *heart* hot glue!


I have to admit I was nervous until I opened up my cut and matched it to Vanessa's photo.  They look pretty similar!  Phew!


I went on to the first sewing part.  After all... this is Sew-a-thon!!  I used my sewing machine for the two lines below... but I could see just as easily doing this by hand.

How are you doing so far?  Motivated to give this one a try?  Are you mid trying?  Any questions?


I cut the little tail off as instructed, flipped this inside out.  All good so far. 

I stuffed the batting bits in the turned out strawberry.

I did the running stitched around the top and was excited when I really could pull the thread to tighten the top.  Looking back now, I think I pulled the top too tight honestly compared to the tutorial where it looks like it is actually ok to leave the top stuffing sticking out... since you cover it with the leaves and hot glue.  That might be why my strawberries ended up being skinny.  I like them skinny, but might also try the other way to see what it does.

I followed the instructions for the leaves (the tutorial has good instructions and pictures for this part) and found it fun to make this shape organic.  I did use my sewing machine to stitch the pieces together... but this is another great place to hand sew if you prefer.

I also made the pink one with four leaves... I would say it looks just as good as the five leaf one if you were wondering.

At this point I had my skinny strawberry and leaves!  I can almost taste victory and cuteness to gift!


I didn't have the floss recommended in the tutorial.  I did however have some gold rick-rack... I tried it out and guess what... it looked like a Christmas ornament.  Confirmed by Mr. Happy.  Here's a quick snap of the rick-rack in case you have the same stuff on hand.  That got me thinking about what else I had to use instead...


That's when it struck me to pull out some yarn.  Yarn to the rescue!

My other note here would be to make the yarn a tiny bit longer.  The tutorial recommends 9 inches, but once I knotted it and hot glued it in place I didn't have a long enough loop to attached them to my rotary cutter.  Yup, I would make the yarn maybe twelve inches next time.


Following the last bit of instructions was a snap!  The hot glue hides anything you may have been nervous about up to this point and it finishes fast!  I am a geek and sewed four strawberries up first and was able to hot glue them all in about 5 minutes.


I really like the results!  And I am already looking for different combos to try and thinking of all the lovely ladies in my life who sew and NEED one of these.  Can't wait to hear what you thought!!


I have also made up a button for the embarking of our adventure... a funny... cute... don't take life too seriously... and try something new button.  Take one, post one, share one if you like!  They are yours to use!


Sew-a-thon Details

We will pick 1-3 projects a month -- February will have two... the luggage tag is the second.  I will create the projects with lots of photos and thoughts along my creation process.  I may even show you ways I modify or give some things my own twist.  Then you give it a try and ask me and the other Sewists a ton of questions!  At the end of the month we will share our successes (and not so successes; hey we all have them) as they will all count as entries to an uber cool You Can Sew-a-thon prize pack!  -- think fabric, sewing notions, cute inspirational items, something handmade, and maybe even some chocolate!!

I am also very excited to hear any feedback you might have.  Did you like this, would you like to see more?  Do you have a project you would like to see us do?  What would you change?

Happy Sew-a-thoning!!

1.11.2011

Tulip Table Runner or is it a Table Square?

She's done!  Ready to be admired for all her beauty. 

As we are expecting anywhere from 10 to 18 inches of snow in the next 24 hours this is a welcome breath of the spring to come and a good way to combat the winter blahs!  I have showed you progress here and here.

I give you Tulip Table runner -- or Table square?  What do you call a table runner that goes on a round table?

A closer look at the free motion quilting that I am learning to live for!  Gives that "loop, swoop, and pull" saying (to teach kids how to tie their shoe laces) a whole new quilting meaning. 

I find myself saying the phrase or mantra over and over as I free motion.  It becomes a sort of rhythm -- a meditation. 

Next up was the binding.  I had the binding picked out from the start and it turned out even more fantastic than it was in my head. 


I can see improvement in my binding each time I go through it, but I have a lot of room to improve in this area!

And here is the first look.  The corner is flipped up to show the back and front at the same time.

Oh yes, this sceams April showers bring May flowers!! 

I have a wonderful assortment of tulip bulbs in the ground patiently waiting to bloom.  I really enjoy watching them grow and then pop full of color (as long as the deer, woodchuck, rabbits, dog don't get them first)

And a quick look at the back.  This could potentially be considered double sided if you wouldn't mind the brown.  I actually quite like the look of the pin wheels!!  The whole thing is so playful!

Yes, there are many variations that could be dreamt up for this.  I am already planning another one and might instead use a single color for each tulip.   Also, this next one will in fact be a runner instead of a square.  Can't wait to see what my crazy spirit whips up in the next design!


These tulips are already happily adjusting to their new home with my amazing neighbor -- yes, the one that makes us homemade meatballs and extra sauce and always has a dog biscuit and carrot on hand when Katie visits.

Have I mentioned how lucky I am today?
Related Posts with Thumbnails