12.08.2010

A Little Birdie Wants to Tell You...

...I'm being featured at Quilt Story today!!  Hippity hop on over there to take a looksie!

Heather and Megan, thank you so much for shining a light on my work!  I so enjoy reading your blog and participating in Fabric Tuesdays -- it's such a cool feeling to see my quilt on your pages! You've really made me smile!!


To celebrate I would like to show you a project I found yesterday that has captured my imagination and my sewing needle -- and they work up quick!  I happily stumbled on Spool Sewing and Laura's amazing bird pattern.  You can get the free pattern there too!

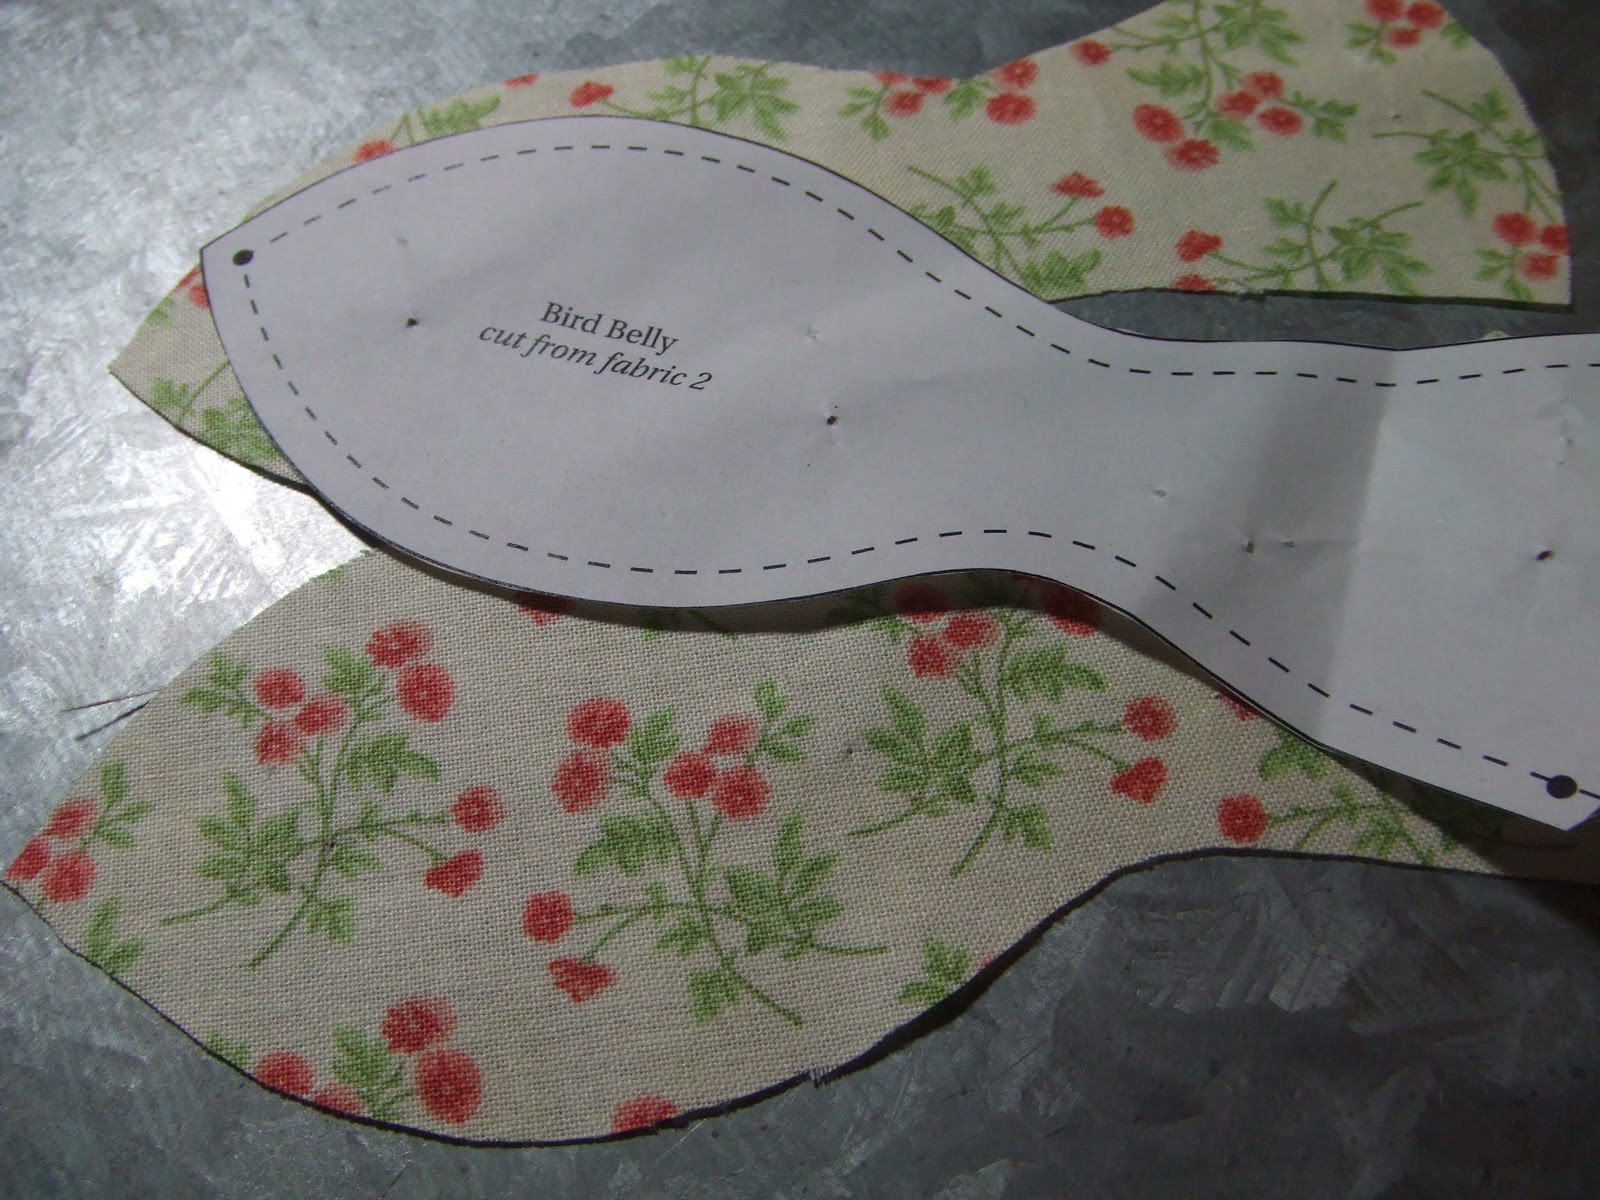
It goes a little something like this.  Pick two fun complimenting fabrics.  A few quick snips of the pattern like so...


 Pin your pieces right sides together and sew up the edges and head like the instructions point out.


Turn that bird right side out... and stuff with left over snips of batting from previous quilt that you didn't know what you would do with... but knew you couldn't throw away.


And the next thing you knew you are ready to sew up the tail and greet your new feathered friend!!  I think I shall call him Pierre.


These little birds are so cute!  I already have about ten combo's in my head and even more people that I would like to make a few for.  But guess what?  I am going to share one with one of you!!


Yes, you heard right!  It wouldn't be a celebration without a little party gift! 

Leave a comment with something that makes you happy -- and you're in (each person will get one entry) ...and this little birdie (maybe a different fabric combo) will fly to any stretch of the globe.  Entries will be closed next Wednesday the 15th of December and a winner drawn. 

Good luck and thank YOU for all you do to keep me motivated and inspired!!

12.07.2010

Creative Tuesday: Holidays

It's a holly jolly Tuesday, it's the best time of the year!!  Yo ho ho it's a holly jolly creative Tuesday!!!

I was excited to dust off my pad and break out a new box of watercolor pencils to see what would come out for this week's Mr. Toast's Creative Tuesday's assignment!

The theme this week was Holidays - ho ho ho!!

This is another tough theme if you ask me, because golly... this could be anything.  Here us what popped out of that zany brain of mine.


I started by flipping through the mountain of holiday ads for inspiration and saw a cute little bear ornament with a red nose and bingo! I had my inspiration.

A bear, a mouse, a snowman - oh my!


Don't you just adore new sharp pencils!  They are sooo pretty!  I had begun playing around with a tree just to get the hang of them.


These are probably a basic set, but I couldn't pass them at the Michael's black Friday sale and I didn't want to commit to a bigger set in case I didn't care for them.  So here we are.


I filled my doodle in with ink and erased my pencil lines.  Oh my goodness, the bird and the mouse just tickles my cheeks!!


And voila!  A few watercolor pencils and Christmas songs sung later and I have a piece I am really proud of.  I scanned it in to capture more of the color and rough lines.


Wishing you and your family the most warm and sincere Christmas, Hanukkah, and every other festive celebration this season.  Hug and kiss the ones around you and continue to be thankful for every laugh that fills your ear!

Cheers to the creative juices flowing in your favor today!  You can check out the other artists or join us here.

12.06.2010

Couple of Projects Brewing

I'm having one of those rare soak in time for myself and cross a ton of things off my list days.  Love!!  Funny how a few hours alone with the pup is helping me realize how much I totally needed a break from the grind.

So, going with the flow... no real post planned for the day, but I'm having fun digging out fabrics and spending some time cutting pieces!

Here are some of the fabrics I've been working with the last few days:


This set begins a new project:

See the second from the left?  I was so dang tickled when I unwrapped that fat quarter.  I pulled a ton from a bin and didn't really give a lot of thought to them.  They just looked cute all folded up.


Here's a closer look at it.  It's sooooo pretty!  I would adore a whole quilt from this fabric and it's making me think I need to seek out some more of it!


Look at this little bitty caterpillar!  Don't you just adore it?  I certainly do.  It's fun to incorporate fabrics I adore into things for others!!

One more look at all these colors and patterns together.  Can't wait to show you all these finished projects!


Hope you are having a wonderful day!!

12.03.2010

Happy Moment #8: Sock Dog... nanananaaaa

A Friday ritual with Soulemama.  A single photo - no words - capturing a moment from the week.  A simple, special, extraordinary, happy moment.  A moment I want to pause, savor and remember. 

If you're inspired to do the same, leave a link to your 'moment' in the comments too!


“Be happy for this moment. This moment is your life.”
~Omar Khayyam

12.02.2010

Origami Puff Balls Tutorial

Paper treat that's fun
to make. Grab a square and fold.
Puff to make the ball.
original haiku poem by me!

Thank you so much for all the love you given my pine tree origami tutorial!  I think these may become a weekly thing... I'm having so much fun getting back into this!!

Here is another fun origami tutorial for a festive Puff Ball (also known as the waterbomb)

Squeee! How cute are these?


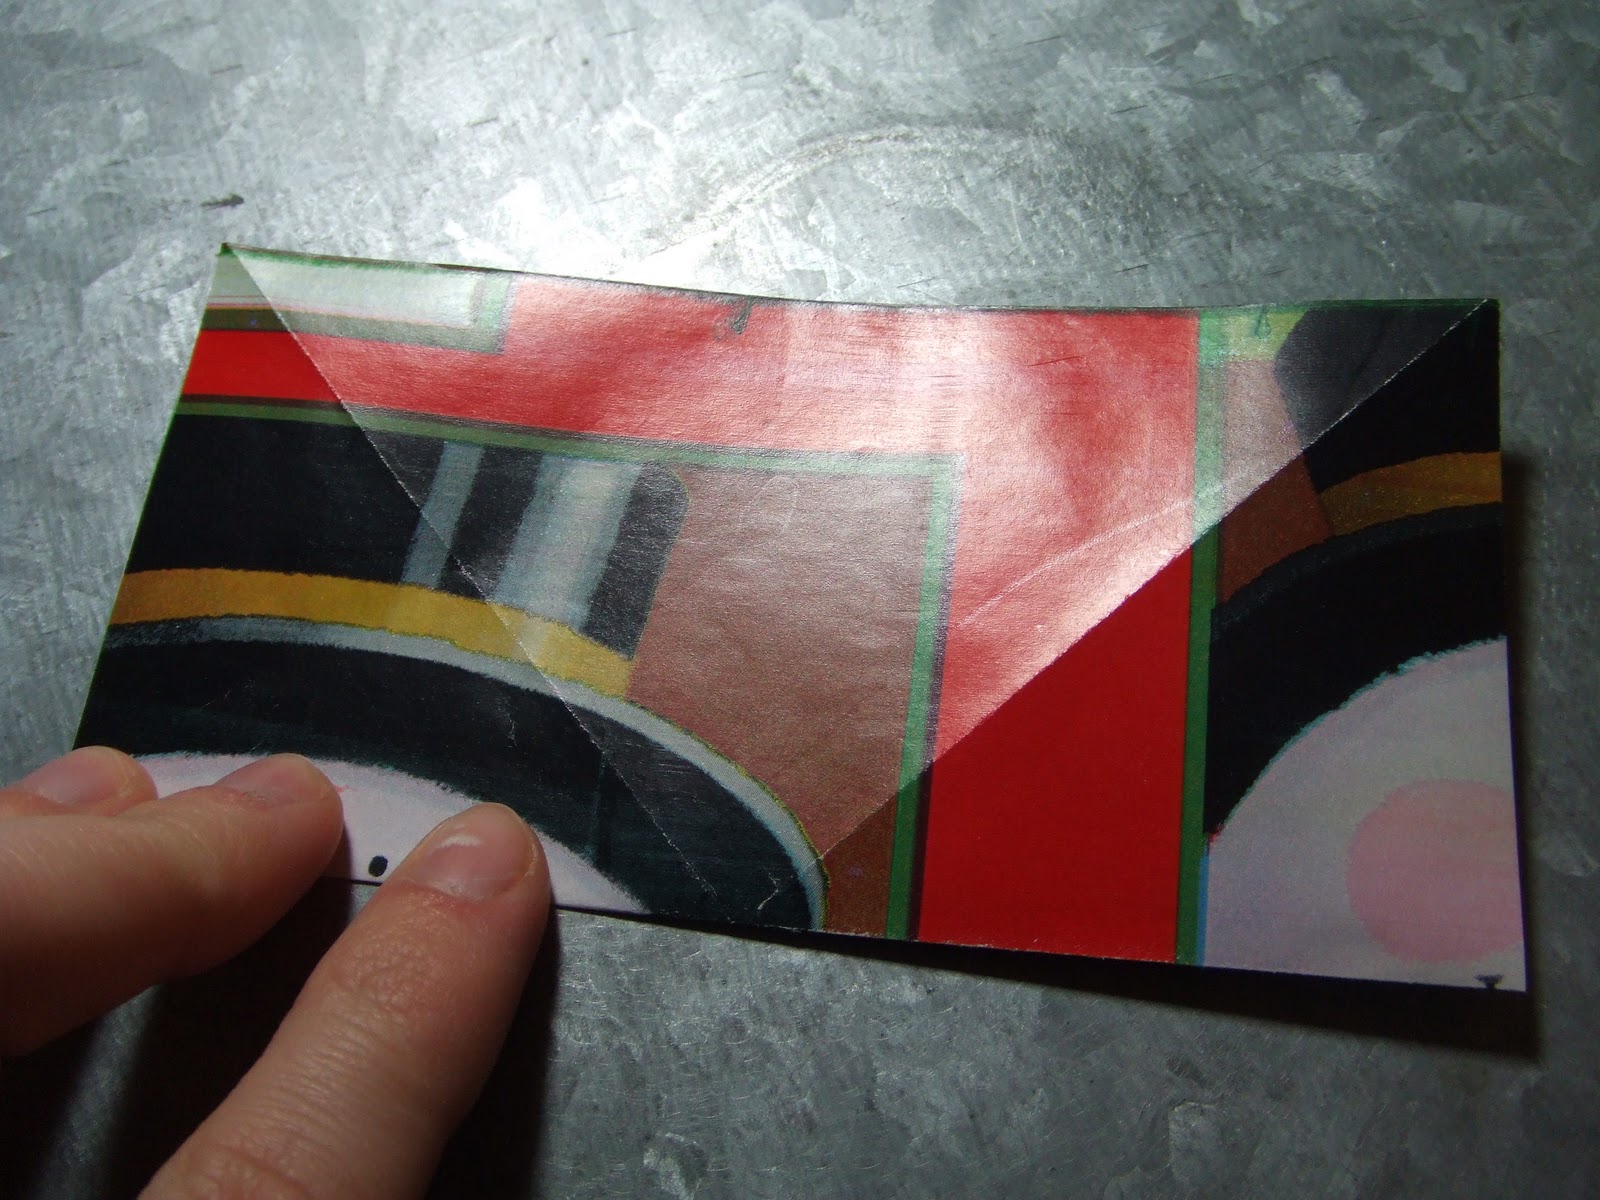
Step one. I started with some left over wrapping paper (left) and make a nice 5 inch square (right).  You can use whatever size you like for these.


Step two. We will start the way we did last time.  Fold one corner to the other to create a diagonal fold (left) and then unfold (right).


Step three. Now, fold the opposite corner to the other to create a diagonal fold (left) and then unfold (right).  Your unfolded paper will now show an X.


Step four. Fold the flat edge to the other flat edge (left) and then unfold (right).


Step five. Fold the last flat edge to the last opposite edge (left) and unfold (right).


Step six. You are now looking for the triangle shape and you want to begin pulling in the remaining paper behind it along the creases we just made.


Step seven. Your triangle should look like the picture on the left.  You will want to re-crease all the edges again here.


Step eight. Pull the left bottom corner of the triangle up to the top of the triangle like I did in the picture on the right.


REPEAT Step eight on the right lower corner by bringing it to the top of the triangle.   It will now look like the picture below.  And flip over your shape now.  You're doing great!!


REPEAT Step eight on the back side to both the left and right lower corners by bringing them to the top of the triangle.  Your shape will now look like a diamond!!  Bling bling!

Step nine. Fold the left arm (remember we talked about arms!) to the center where the paper naturally has a split (right).


REPEAT Step nine on the right arm.  You guessed it, we now do the same thing on the other side.  When you are done it should look like the picture on the right!

Step ten. Take the little wing on the top left of the shape and bring it down toward the point that the arm just lined up with in the middle.  Wait till you see where this little wing ends up!!


REPEAT Step ten on right top wing again bringing it down to the middle meeting point.  When you are done it will look like this picture below.  You now have two arms and two wings all meeting at the center.


Step eleven. Ok, you are going to take the left wing and fold it down toward where my finger is pointing.  This step is just meant to make a crease to make the next step easier.  Once you made the crease, you can lift it back up.


Step twelve.  Here where a little magic happens!! I've taken the arm (that was folded to the center) and I am pushing down on it to show you there is a pocket there.  You want to put you finger in the pocket to open it up and now put the wing into the pocket.

Go ahead.  It takes a little finesse.  When it doubt just shove and press.  Remember it's just paper!


REPEAT Step twelve. You see how the wing is tucked into the pocket now (left)?  Magic! Exciting!  Whoohooo!  Now, do the same thing on the wing and pocket on the right!!

Yes, and then repeat this tuck, shove, and press move on the other side of the puff.


Last step. On the bottom (part below the pockets) there will be a teeny, tiny little hole.  Pucker up your lips and blow a little air into the hole.

And the whole thing blows up into a puff!!


So adorable how the face of frosty worked out to side of this origami puff!!

What can you do with these you ask me?  Well.... so glad you asked!!
  • Put a little ribbon on the top and it becomes like a little present decoration.  
  • Add a hanging string and it becomes a sweet little ornament for your tree.
  • String a bunch of these together for a festive garland
  • Make a stack of three of these puff (one on top of each other) to make a puffed up origami snowman or the Stay Puff Marshmallow Man (think Ghostbusters movies!)
  • They are cute from festive paper.  They are cute from any paper really!
  • They would be really snugly sitting in a bowl or vase together
  • They are cute with buttons and in jars!
  • They make a nice touch when wrapping up presents with a few pieces of ribbon!
  • Oh oh oh... imagine putting numbers on these cubes and using them to count down to Christmas... or birthdays... or anniversaries!!


The sky is the limit for what you can do, but no matter what I'm hoping that means you made up a bunch of these and had a bunch of laughs at the same time!!

Next week we will be making a sweet little turtle dove by request, hope you drop by and make a few with me!

I would also enjoy seeing what you've made.  Link up your picture or post to show off what you did with either your pine tree or puff balls!!  Let your creativity ride! Go origami!!  Go origami!!  Whoop whoop!!

12.01.2010

Smile, It's Hump Day!!

Ya, know... hump day?  Middle of the work week?

Reminder that we in the home stretch to the weekend?!?!!


Just smile and everything will be alright!  Katie say's so!


More projects and creative goodness tomorrow!
Related Posts with Thumbnails