2.09.2011

Crochet Hearts on a String


Yes, I also dabble with crochet.  I needed project I could tuck in my bag, work on for a few minutes at a time, and not feel guilty ignoring.  Voila... crochet hearts!! 

Do you read Design*Sponge?  I saw this post with instructions on how to create a cute heart garland!!  Fun right?


I used the Sugar and Cream brand yarn... one with lots of colors... some pink which you would expect, but I like the touch of fern green and charcoal!

I finished off one ball of yarn in about two days and those little hearts have brought peace and harmony to my hands and mind.  Can't think of woes whilst counting rows!


I haven't quite decided how many hearts I will put on a string... maybe lucky seven sounds right?

And I couldn't resist making a few from this pink, brown, and magenta baby yarn.  These are so soft!! 


I may make a few garlands to gift... or how cute would one of these be on a small gift box... or on a ribbon wrapped around a bunch of flowers?  I think you could even make them into a fabric note card!

Here's to busy hands to settle busy minds.


And to sending a little love your way.  XOXO

2.08.2011

Never Thought I Would Say...

I'm really liking binding!!  (never thought you would hear me say that ... did you?)

I have struggled with binding since quilt one and have tried different methods, but ladies and gentlemen I'm telling you hands down... use this tutorial by Monika at My Sweet Prairie... as she has answered all my binding woes! 

From creating the actual binding (on the bias... I never really paid that any attention before this), attaching the binding both top and bottom (with hand sewing!!!!), mitering my corners.  I have a ton of firsts thanks to this tutorial!!

Here's the proof:

Just look at that corner!!!  Flat, centered, no stress!


B-e-a-u-t-i-f-u-l!!


A quick look at the top and bottom of the binding.  I still can use a lot of practice with my blind stitch which is used to hand sew on the bottom of the binding (really, it's a real stitch name... I used a youtube video to figure it out).


I've never been more proud of those easily overlooked edges. 


And, I am still adding the final touches to Confetti.  I think I should be ready for outdoor photos of it over the weekend. 


Confetti has turned into one of those projects that just begs to be picked up, held and added to ad hock.  I love that I'm not using a final plan or scheme.  I'm just adding things where it seems to fit. 

It fits the chaos of what confetti is. 
It fills my need to let go. 
It makes me smile!

Katie Dog Days - This little beauty

This little beauty wanted all of my attention last night.  --these pictures are from bright sunny morning over the weekend


We went on flashlight adventures outside in the snow.  Chased after leaves...


Pulled out a bunch of doggie toys.  Played with nearly all of them.  Lots of squeaking and squawking!!

Chased throughout the house.  Tussled and tugged.  She almost always beats me in the race down the hallway.

I had plans filled with sewing (I figured out what block I want to do for Quilt Story's Block Party).

I also wanted to take a few snaps to share... and watch House!

But when it comes down to it, the princess gets what the princess wants...

... and who can resist the pull of a pup who just needs some love?

2.05.2011

You Can Sew-a-thon - Strawberry Pin Cushion

What is You Can Sew-a-thon!! ??

This adventure is designed to build confidence in a new sewist, kindle or rekindle the love of sewing, brush up sewing skills, and even encourage you to create a nice handmade something that can be given as a gift!   

Are you game?

First Project is a Strawberry Pin Cushion!!
--using this tutorial from V and Co. blog--


I have seen these on the Martha Stewart website, in my local fabric shop, and more recently at V and Co. where I was finally pushed over the edge to give this a go.  And, to my delight Vanessa created the perfect tutorial to follow!  So go over there and bookmark this page and together we will follow it to make a ton of cute strawberries in the 'nic of time for Valentines gifties for your sweet valentine or even just a few for yourself!

I mean, how cute would one of these be on a little gift box?

I always start by gathering up all my supplies.  After reading the tutorial and then trying one... here are the items I ended up using:


  • Fabric scraps in red/pink and green.  I also experimented with a totally non-traditional choice for a strawberry and love the outcome!
  • pen
  • thread
  • needle
  • sewing machine (not pictured)
  • yarn in place of the floss
  • bits of left over batting in place of polyfil
  • hot glue gun.  you know it's going to be a good project when you get to pull out the glue gun!
Following the tutorial directions I cut my fabric to size -- this felt like an easy part!


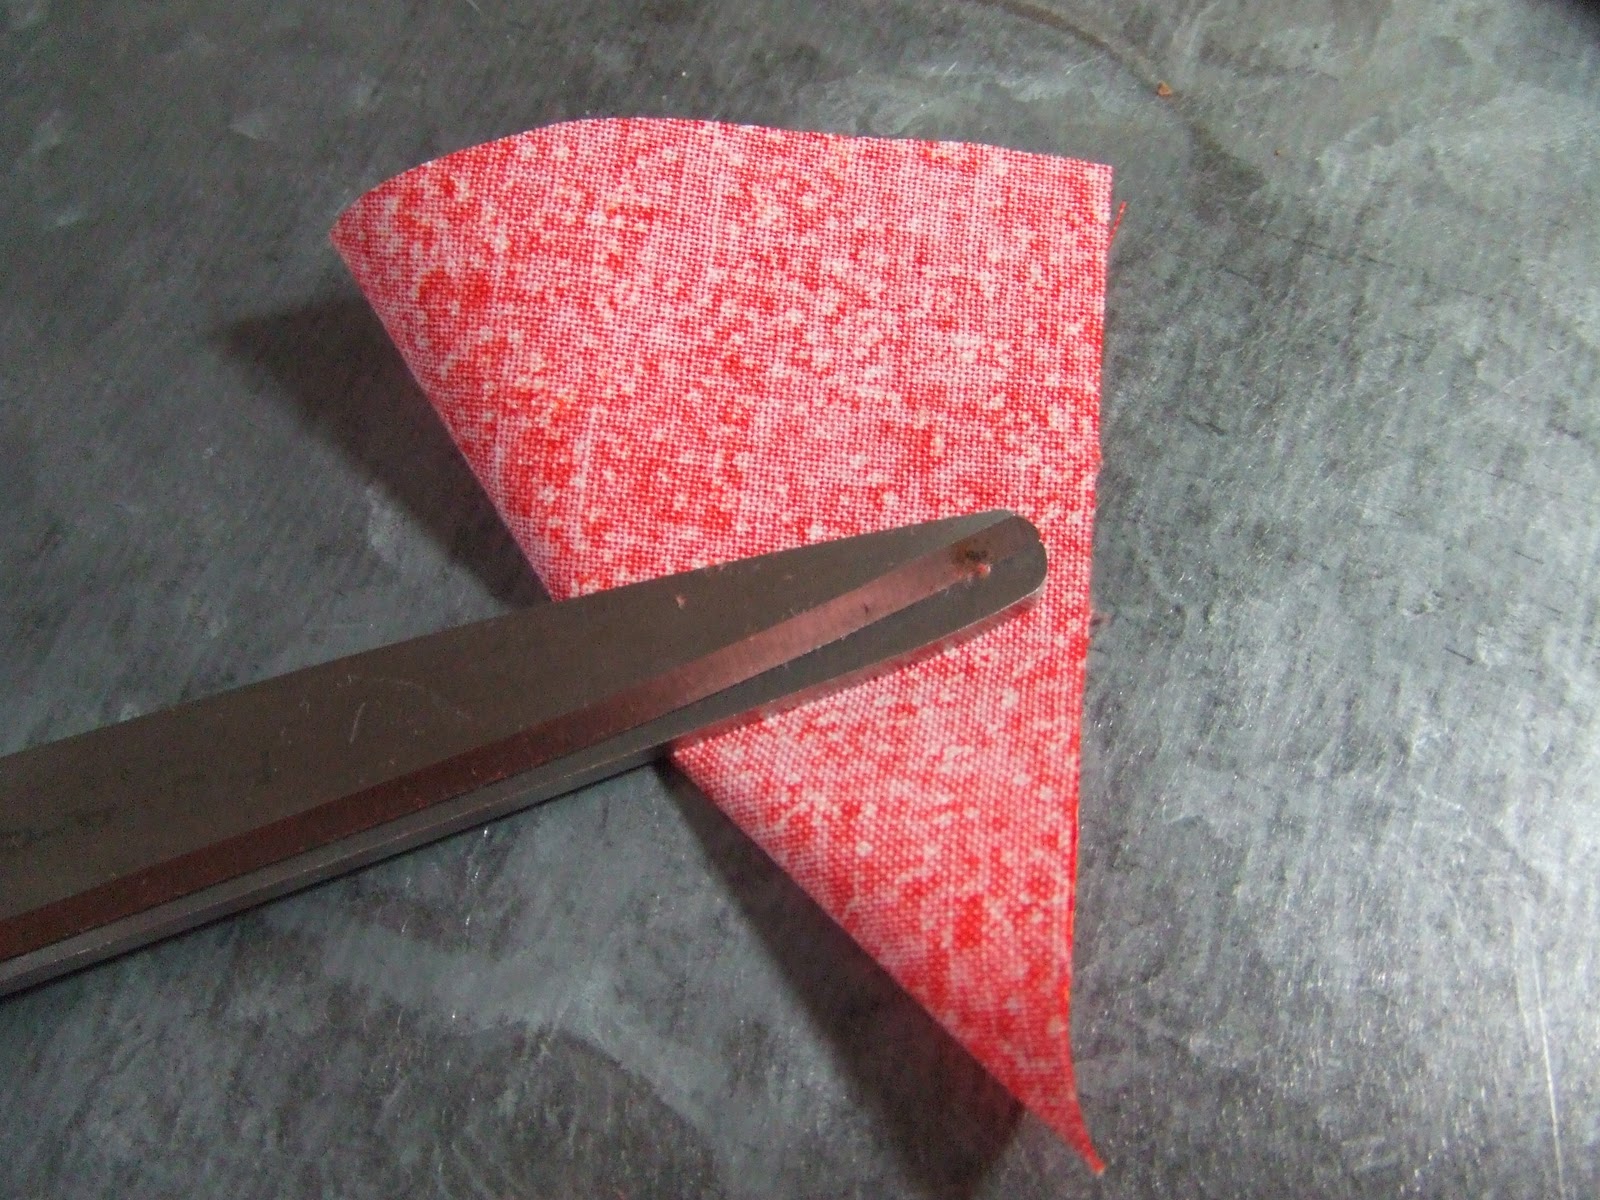
Next was making the ice cream cone shape.  I free handed the cut and came to find that this part is also very forgiving.  The shape isn't terribly important... since the curve becomes the top of the strawberry which I was happy to find out gets hidden with hot glue.  I *heart* hot glue!


I have to admit I was nervous until I opened up my cut and matched it to Vanessa's photo.  They look pretty similar!  Phew!


I went on to the first sewing part.  After all... this is Sew-a-thon!!  I used my sewing machine for the two lines below... but I could see just as easily doing this by hand.

How are you doing so far?  Motivated to give this one a try?  Are you mid trying?  Any questions?


I cut the little tail off as instructed, flipped this inside out.  All good so far. 

I stuffed the batting bits in the turned out strawberry.

I did the running stitched around the top and was excited when I really could pull the thread to tighten the top.  Looking back now, I think I pulled the top too tight honestly compared to the tutorial where it looks like it is actually ok to leave the top stuffing sticking out... since you cover it with the leaves and hot glue.  That might be why my strawberries ended up being skinny.  I like them skinny, but might also try the other way to see what it does.

I followed the instructions for the leaves (the tutorial has good instructions and pictures for this part) and found it fun to make this shape organic.  I did use my sewing machine to stitch the pieces together... but this is another great place to hand sew if you prefer.

I also made the pink one with four leaves... I would say it looks just as good as the five leaf one if you were wondering.

At this point I had my skinny strawberry and leaves!  I can almost taste victory and cuteness to gift!


I didn't have the floss recommended in the tutorial.  I did however have some gold rick-rack... I tried it out and guess what... it looked like a Christmas ornament.  Confirmed by Mr. Happy.  Here's a quick snap of the rick-rack in case you have the same stuff on hand.  That got me thinking about what else I had to use instead...


That's when it struck me to pull out some yarn.  Yarn to the rescue!

My other note here would be to make the yarn a tiny bit longer.  The tutorial recommends 9 inches, but once I knotted it and hot glued it in place I didn't have a long enough loop to attached them to my rotary cutter.  Yup, I would make the yarn maybe twelve inches next time.


Following the last bit of instructions was a snap!  The hot glue hides anything you may have been nervous about up to this point and it finishes fast!  I am a geek and sewed four strawberries up first and was able to hot glue them all in about 5 minutes.


I really like the results!  And I am already looking for different combos to try and thinking of all the lovely ladies in my life who sew and NEED one of these.  Can't wait to hear what you thought!!


I have also made up a button for the embarking of our adventure... a funny... cute... don't take life too seriously... and try something new button.  Take one, post one, share one if you like!  They are yours to use!


Sew-a-thon Details

We will pick 1-3 projects a month -- February will have two... the luggage tag is the second.  I will create the projects with lots of photos and thoughts along my creation process.  I may even show you ways I modify or give some things my own twist.  Then you give it a try and ask me and the other Sewists a ton of questions!  At the end of the month we will share our successes (and not so successes; hey we all have them) as they will all count as entries to an uber cool You Can Sew-a-thon prize pack!  -- think fabric, sewing notions, cute inspirational items, something handmade, and maybe even some chocolate!!

I am also very excited to hear any feedback you might have.  Did you like this, would you like to see more?  Do you have a project you would like to see us do?  What would you change?

Happy Sew-a-thoning!!

2.04.2011

Happy Moment #16: Morning Sunshine!

A Friday ritual with Soulemama.  A single photo - no words - capturing a moment from the week.  A simple, special, extraordinary, happy moment.  A moment I want to pause, savor and remember. 

If you're inspired to do the same, leave a link to your 'moment' in the comments too!


“Be happy for this moment. This moment is your life.”
~Omar Khayyam 

2.03.2011

Katie Dog Days - *heart* the Snow

Katie will now demonstrate one of the many ways to get full satisfaction from snow in a snow tasting...
Step 1:  Approach and sniff a patch of non-yellow snow.  Non-yellow is the key here.  Actually non-yellow, non-brown... you get the idea!

Step 2:  With your paw firmly in place proceed to take a pretty good size bite.

Step 3:  Crunch the snow up in your mouth and swish it around in your cheeks to assess the body (size or helf; a light bodied snow glides over your palate softly and without weight, a full-bodied snow feels heavy and big in your mouth). 

Also, note the aftertaste or finish that your snow has.

Step 4:  Next get your nose close to the snow and take a deep inhaling breath through your sniffer.  You will be noting the bouquet which is another term for the aroma of the snow.

Would you describe the smell of the snow as complex, offering many different types of aromas?  Perhaps an earthiness or floral scent?

Step 5:  Dig in some more... I mean this stuff only sticks around for a short time and you have to get your fill while it's around!!  Gotta love Katie's enthusiasm in these demo shots!

In our shovelling adventures of late, Mr. Happy noticed this shape in the snow... it must have been made from snow falling off a tree.  So, before Katie could smoosh it I managed to get a quick quick clip of it on video!!  Enjoy!

I know, I know... I shouldn't even say the "s" word after this week's weather, but at the same time it's actually a perfect moment to stop for a second and enjoy what happiness it does offer!

"s" = (snow)  :)

2.02.2011

A Day of "I did it!"

Yup, shoveled ice and snow today.  Becoming the norm around here.  And, I can't believe how quickly it's toning my flab.  Who knew Snow-ercise could work so well!

In other news, I finally spent some time in my sewing room between yesterday and today!  Whoop whoop!

Here are the results so far... more pinwheels!!


This is what the Central Park pinwheel quilt looked like at the start of the day...


Now after adding 15 more pinwheels.  Sounds like a lot, but still more to go.  I am still playing with the design and placement, but it's nice to see that I am getting closer to having all the pieces I want.  I also still have the full charms to incorporate.

I'm definitely enjoying this one!


AND!!!  I did it!!  I made my first time very own bias binding from a fat quarter and even have it machine sewn it on the top and have begun hand sewing it down on the back.  This is all thanks to the binding tutorial from Monika at My Sweet Prairie.  Monika, thank you so much for taking the time to put it together and share so many of your tips and expert methods!! 

Here are few teasers...


I'm feel like a quilting rock star... the real deal... genuine!!  Confetti is almost a wrap!!  I have gained a ton of binding confidence.  I can almost say that I am liking binding now... guess it helps to know what you are doing (which I clearly didn't before this -- I may even do a comparison so you can see what I was doing vs. the right way).

The day wouldn't have been complete without the gaze of these adorable chocolate eyes.  Katie has been the best buddy a gal could ask for today! (even though her face says stop taking my picture)


One last thing... I may or may not be doing something heartfelt with crochet... (I know... I'm all over the place, but it's a quick project that is portable a la riding the train in this crazy winter weather)  I will show you the full project soon!  Really soon!


Ok, this is really the last thing...  

You Can Sew-a-thon! is officially here!  As in this week!!  The first two projects that we will tackle together will be..... drum roll please

1. The Luggage Tag -- and I have an idea for those of you who don't need a luggage tag, but still want to make this cute project  ... and a 2. Strawberry Pincushion!  I will post the official kick off Friday!  I like Friday's... gives us the weekends to play and sew! 

Muah! xoxo  Talk to you more soon!

This Week's Work in Progress (WiP) Stats -- same as last week

Last WiP Wednesday Total: 5
New Projects: 0
Finished Projects: 0
Total WiP's: 5

---Linking to W.I.P. Wednesday---
Related Posts with Thumbnails