Showing posts with label thread. Show all posts

11.19.2011

Friday Night Sewing {results}

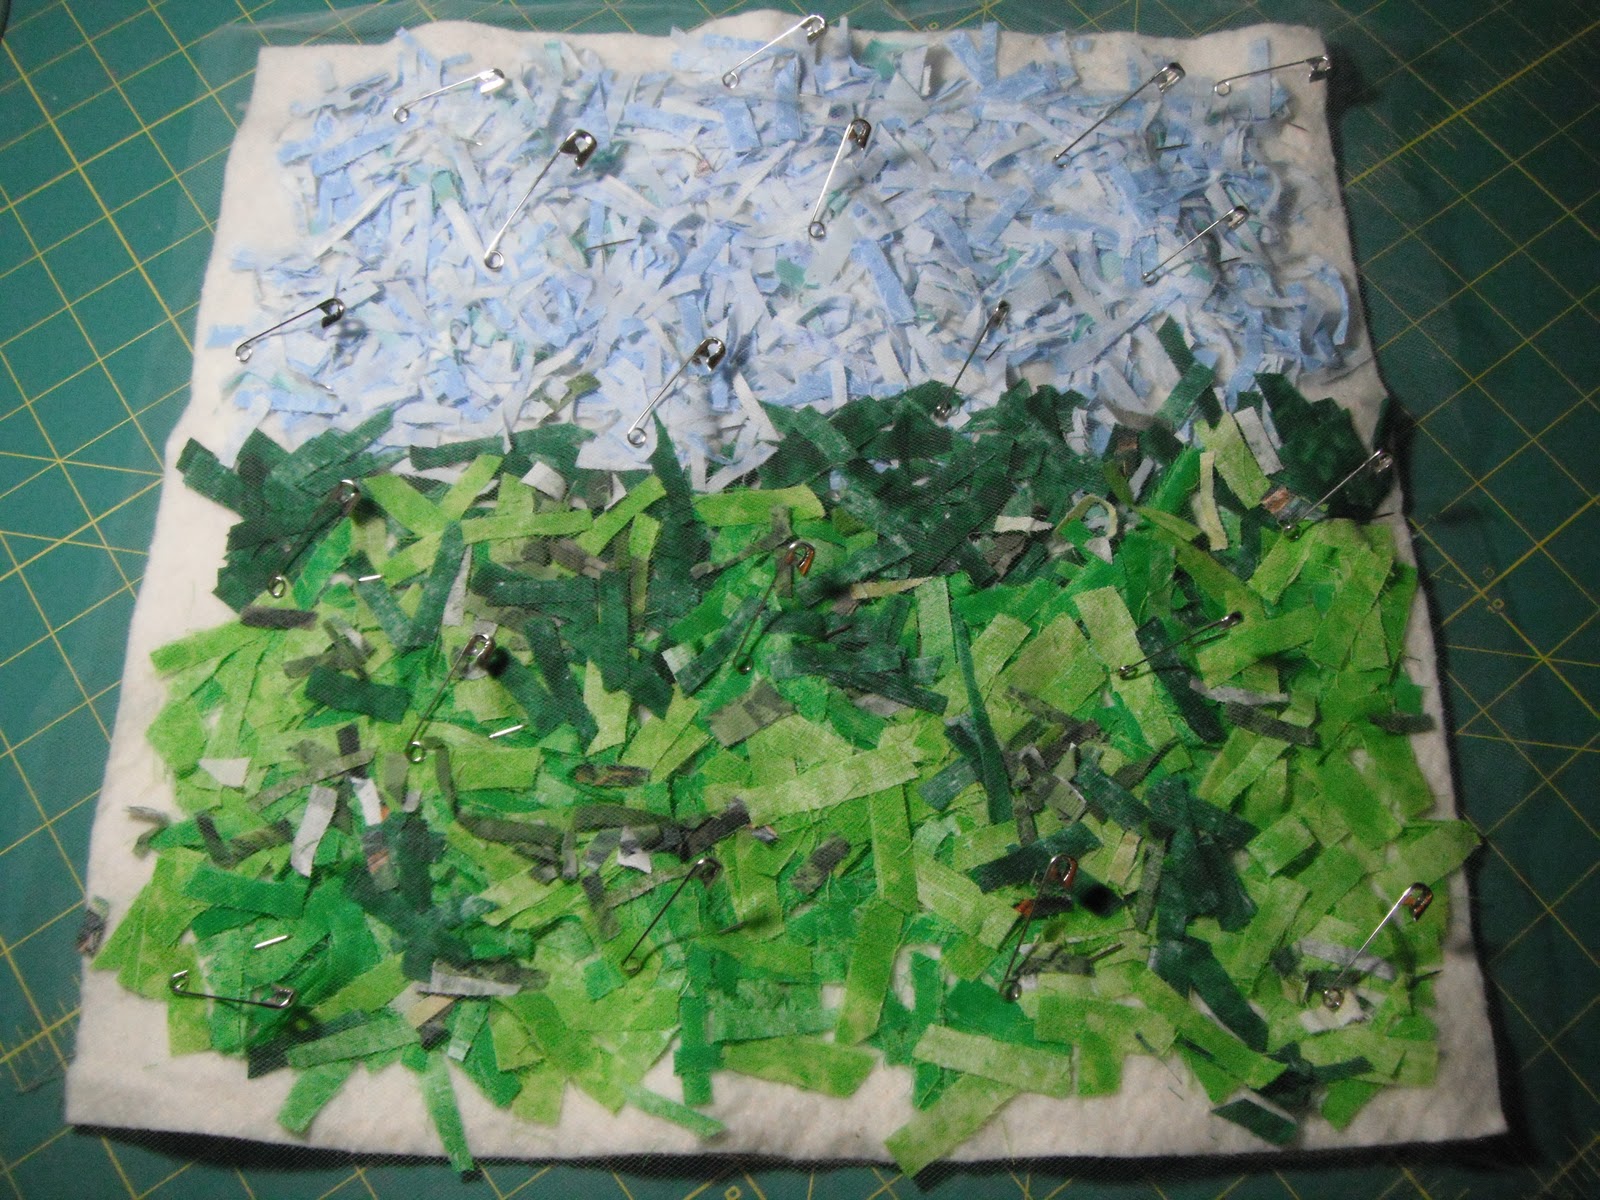
Had a great night sewing and made a lot more progress on the NY-NY binding -- almost done, cleaned off my desk and workspace nicely, loaded a few bobbins, watched the movie 300, and made some serious progress on this confetti quilting piece of Shadow and Timber.

Here is Shadow and Timber in progress...

The confetti was laid out to create the grass and sky.


A close up of all the tiny scraps.


The meshing is overlaid and then pinned down.


Start to sew and secure the pieces in place as you go.


A look as some of the colors that are going in.


Most of the pieces are secured and textured at this point.


I start pulling fabrics for the details of the dogs, red frisbee, trees in the background, and picnic blanket.  I also cut out the pups Shadow and Timber from a print out to get a template for their bodies.


Shadow was cut out of black fabric and Timber out of white.  I still have the paper templates laid on top and everything is pinned in place to get a feel for the placements.


And a close up view.  


I'm really excited with how this piece is turning out!  I still need to sew all the pieces in place, finish planning the trees and sky, decide if I like how the picnic blanket is rumpled, make a picnic basket and then it's off to finishing details like the dogs eyes and nose, the dogs collars, and maybe some flowers.

Hope your sew-in was a huge success!! 


Handmade by Heidi

Can't wait to peak around and see what everyone else did.  You can see the other participants here!

9.17.2011

Friday Night Sew In Success!

It was Friday night.  I stuck to my plan and X Marks the Spot is now quilted!  I am still debating a few more details, but I would say it's 98% there.  I can't wait to sew up the binding and put it on. 

Here is what my night looked like...

Filled the bobbins.  First time using Auriful.  Peachy colors.  Totally in love with how smooth everything went.


Rolling and coaxing queen size quilt through my machine.  And take note of foot 'massager' under my desk.  I can't quilt or even really sew without it.


Making good progress!


A closer look.


I'm not giving a lot away with how I am finishing this one yet.  You will see it finished up soon enough and I will spill all the beans.  For now I'm just happy that the weather chilled down so that I was content with a big heavy quilt on my lap.

Happy sewing and hope you are enjoying the weekend!

4.18.2011

Confessions from behind the Sewing Machine

As I am sewing with this new machine I am learning things about myself as a sewer. 

I have learned that all this time I was sewing quilt seams that were larger than 1/4 of an inch.  Now that I have a machine with a 1/4 measure marked on the base.... as well as a 1/4 foot it is all so clear.  1/4 is tiny!  This is helping me understand why I had blocks/patterns that didn't match up in the past.  *smacking hand to forehead*


I am enjoying myself so much that I have already gone through three... count them... three bobbins of thread.  I can't even begin to think how many weeks would pass when I would still be on the same bobbin with the other machine.  Yup, I over wound my other bobbins.  Gulp!  Not any more... and imagine that... the tension looks fantastic now!

Here are three more filled up and ready to go!


I am still using a cone of thread fed from a vase.  Yup, a vase.  I'm sure this is breaking a rule in a sewing book somewhere, but I haven't had any real issues from it... so I will continue in this fashion.  Cones are so much more economical!


A better look at how I have vase behind the machine and the thread looped over the spool where the thread 'should' be coming from.  Don't cringe!

All in all I am noticing my seams are straighter, things match up better and it's quick!  I haven't had any thread breaking or snagging issues.  My stitch lengths are even on the front and back.  And sewing is just pure joy again.  The way it should be.  It's hard to imagine I was doing anything else.

But, you live, you experience, and you learn!  That learning part is what counts!  Looking forward to my first finish with my new precision!

Have you experienced anything like this?  Did a new (or any) sewing machine teach you something you didn't know about yourself as a sewer?

日本のための多くの愛
Much love for Japan

2.05.2011

You Can Sew-a-thon - Strawberry Pin Cushion

What is You Can Sew-a-thon!! ??

This adventure is designed to build confidence in a new sewist, kindle or rekindle the love of sewing, brush up sewing skills, and even encourage you to create a nice handmade something that can be given as a gift!   

Are you game?

First Project is a Strawberry Pin Cushion!!
--using this tutorial from V and Co. blog--


I have seen these on the Martha Stewart website, in my local fabric shop, and more recently at V and Co. where I was finally pushed over the edge to give this a go.  And, to my delight Vanessa created the perfect tutorial to follow!  So go over there and bookmark this page and together we will follow it to make a ton of cute strawberries in the 'nic of time for Valentines gifties for your sweet valentine or even just a few for yourself!

I mean, how cute would one of these be on a little gift box?

I always start by gathering up all my supplies.  After reading the tutorial and then trying one... here are the items I ended up using:


  • Fabric scraps in red/pink and green.  I also experimented with a totally non-traditional choice for a strawberry and love the outcome!
  • pen
  • thread
  • needle
  • sewing machine (not pictured)
  • yarn in place of the floss
  • bits of left over batting in place of polyfil
  • hot glue gun.  you know it's going to be a good project when you get to pull out the glue gun!
Following the tutorial directions I cut my fabric to size -- this felt like an easy part!


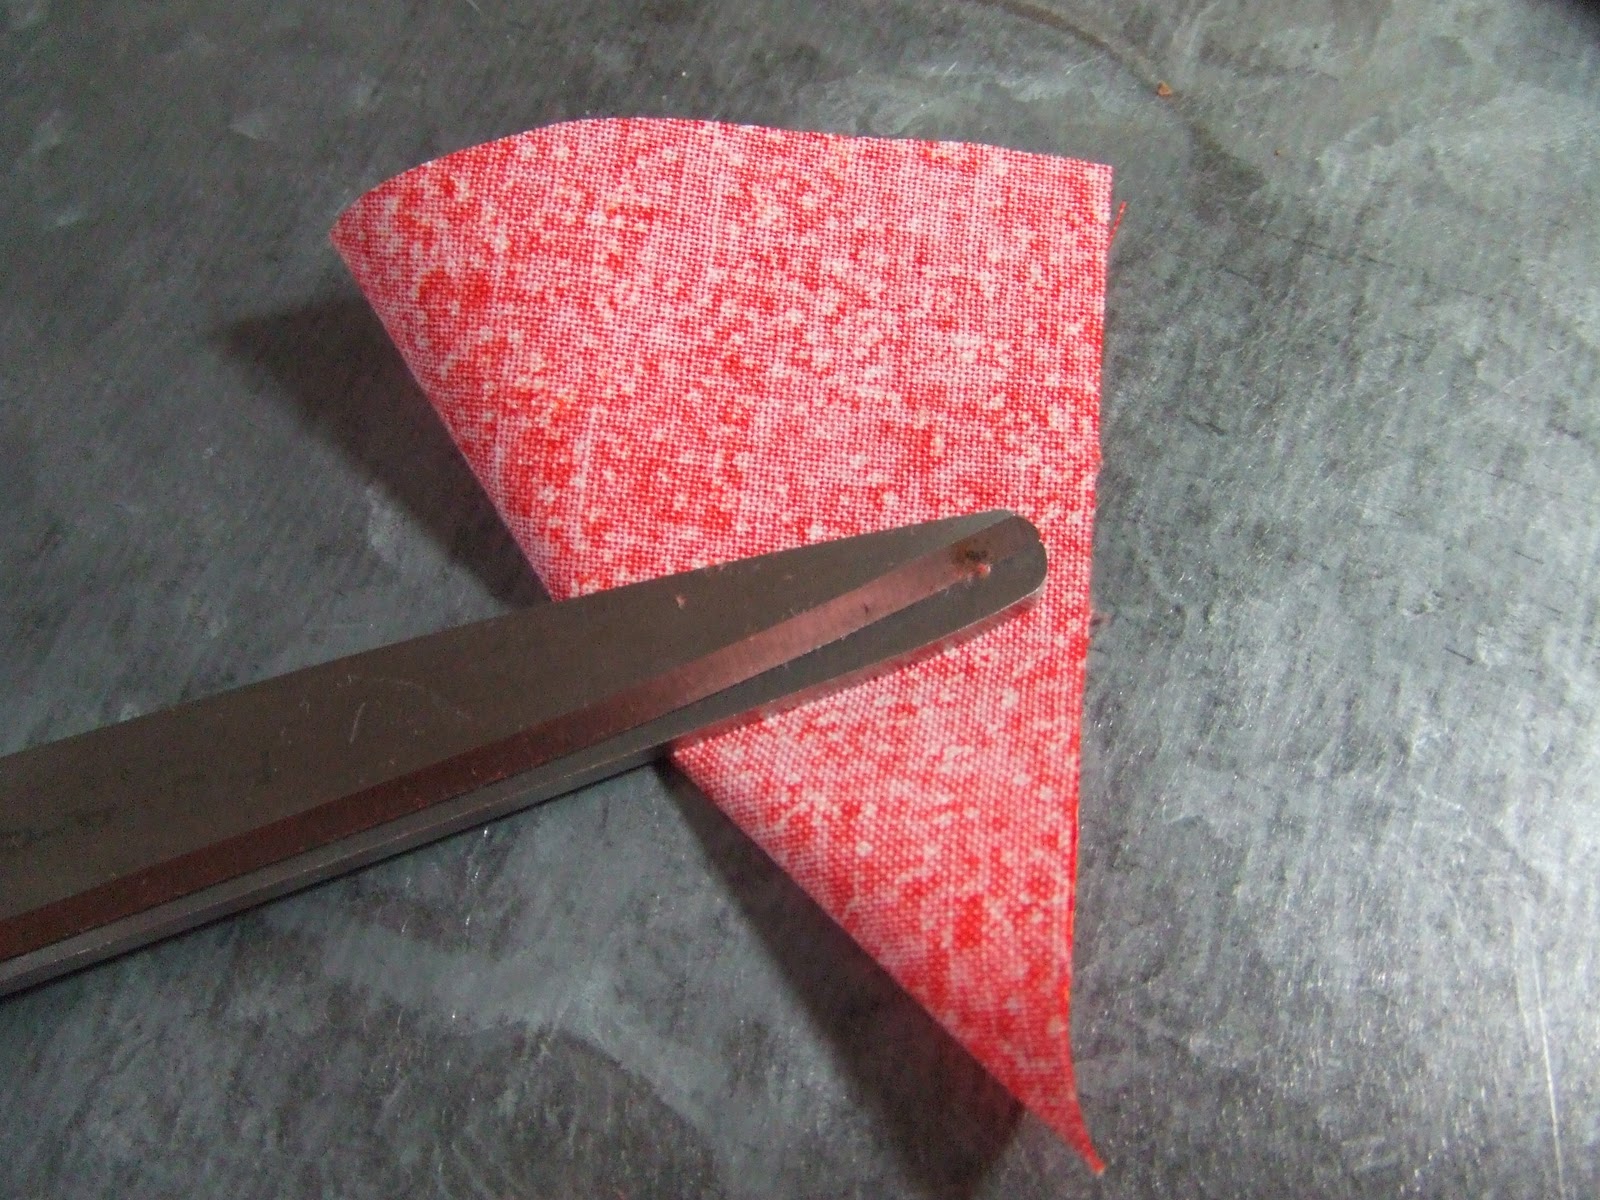
Next was making the ice cream cone shape.  I free handed the cut and came to find that this part is also very forgiving.  The shape isn't terribly important... since the curve becomes the top of the strawberry which I was happy to find out gets hidden with hot glue.  I *heart* hot glue!


I have to admit I was nervous until I opened up my cut and matched it to Vanessa's photo.  They look pretty similar!  Phew!


I went on to the first sewing part.  After all... this is Sew-a-thon!!  I used my sewing machine for the two lines below... but I could see just as easily doing this by hand.

How are you doing so far?  Motivated to give this one a try?  Are you mid trying?  Any questions?


I cut the little tail off as instructed, flipped this inside out.  All good so far. 

I stuffed the batting bits in the turned out strawberry.

I did the running stitched around the top and was excited when I really could pull the thread to tighten the top.  Looking back now, I think I pulled the top too tight honestly compared to the tutorial where it looks like it is actually ok to leave the top stuffing sticking out... since you cover it with the leaves and hot glue.  That might be why my strawberries ended up being skinny.  I like them skinny, but might also try the other way to see what it does.

I followed the instructions for the leaves (the tutorial has good instructions and pictures for this part) and found it fun to make this shape organic.  I did use my sewing machine to stitch the pieces together... but this is another great place to hand sew if you prefer.

I also made the pink one with four leaves... I would say it looks just as good as the five leaf one if you were wondering.

At this point I had my skinny strawberry and leaves!  I can almost taste victory and cuteness to gift!


I didn't have the floss recommended in the tutorial.  I did however have some gold rick-rack... I tried it out and guess what... it looked like a Christmas ornament.  Confirmed by Mr. Happy.  Here's a quick snap of the rick-rack in case you have the same stuff on hand.  That got me thinking about what else I had to use instead...


That's when it struck me to pull out some yarn.  Yarn to the rescue!

My other note here would be to make the yarn a tiny bit longer.  The tutorial recommends 9 inches, but once I knotted it and hot glued it in place I didn't have a long enough loop to attached them to my rotary cutter.  Yup, I would make the yarn maybe twelve inches next time.


Following the last bit of instructions was a snap!  The hot glue hides anything you may have been nervous about up to this point and it finishes fast!  I am a geek and sewed four strawberries up first and was able to hot glue them all in about 5 minutes.


I really like the results!  And I am already looking for different combos to try and thinking of all the lovely ladies in my life who sew and NEED one of these.  Can't wait to hear what you thought!!


I have also made up a button for the embarking of our adventure... a funny... cute... don't take life too seriously... and try something new button.  Take one, post one, share one if you like!  They are yours to use!


Sew-a-thon Details

We will pick 1-3 projects a month -- February will have two... the luggage tag is the second.  I will create the projects with lots of photos and thoughts along my creation process.  I may even show you ways I modify or give some things my own twist.  Then you give it a try and ask me and the other Sewists a ton of questions!  At the end of the month we will share our successes (and not so successes; hey we all have them) as they will all count as entries to an uber cool You Can Sew-a-thon prize pack!  -- think fabric, sewing notions, cute inspirational items, something handmade, and maybe even some chocolate!!

I am also very excited to hear any feedback you might have.  Did you like this, would you like to see more?  Do you have a project you would like to see us do?  What would you change?

Happy Sew-a-thoning!!

1.25.2011

Confetti Quilt is Nearing Complete

Do you remember the bead/button dilemma with Confetti quilt discussed last week here?  (I previously showed you Confetting coming ALIVE here!)

Well, I went for it.  I added beads.  Lots of them.  Beka, can't wait to hear what you think!!

Here are the results so far. 

This is a shot of the whole 22 x 22 inch square.  Looking nice and chaotic, yes?


A close up of some of the beading.  I landed some on the negative space... and some right on the squares.


I also decided that since the quilting thread color matched the background so well... you can't really see it. 

My remedy... this bright pink thread path and a bit of my hand quilting to fix 'er up!


Another from the top shot.  I really enjoy the variety of beads, colors, shapes, and finishes.  And it's also neat because I have lived with these beads easily close to 10 years. 

And I feel like they finally have a purpose... a place to live... a place to shine!


So many of the beads have a story for me.  They are an awesome reminder of near and dear memories from my single days!


Here is another look at the hand quilting.  This is my first time trying it.  I am finding it really soothing as I pick my path through all the bits and confetti squares. 

The pink thread seems almost symbolic for my path through the chaos that is my life.  How's that for deep?


Some really pretty beads, right?


And there you have it.  I still need to finish the hand quilting.  Add binding -- going to use Monkia's Monika's new binding tutorial to try a proper method.  And I am still tempted to add a few more beads. 

The next look should be at my first finished 'artistic quilt!'

---Linking to Fabric Tuesday and other awesome parties from my left bar---

1.10.2011

I've Gone Martha -- don't judge.

Yes, as in Martha Stewart.  Really it's all Greenbean's fault since I saw the idea there first and she made it sound so darn easy (link to Martha's version)!  And it was!

[A tease for You Can Sew-a-thon at the end of this post!!!]

I also can't usually resist a reason to use a mason jar and fabric together.  Plus, I had a tiny tray I am using to organize all this and needless to say the stuff is outgrowing the tray.  So here goes...


I started with a very pretty small mouth mason jar.  I like this one for the size and design, but the nice thing is that the lid created by this project can be put on any other small mouth jar... so if I want to switch to a shorter jar in the future it's as easy as twisting the cap onto a shorter jar. 


Next, I traced the lid on cardboard (inserts from a beer case) and cut out the circle which left me with the results below. 

The hardest part of this project was picking out what fabric to use.  Uhhh, I agonized.  Seriously, spent way to much brain power, but in my defense we are still up to our eye balls in house DIY for the new breakfast bar/kitchen pass through and re-painting more than 1/2 the house.... my brain has been on reduced power from it all.

I landed on this pretty red flowered fabric which had those cutie patootie caterpillars on it that I showed you here... deciding that the small print would be best appreciated on the small cushion.


Then I went a little crazy with the batting.  I save every last scrap of batting, so pulled out a bunch of pieces and decided I wanted a very fluffy cushion.

I cut the batting in squares and then even rounded the corners a bit. 

Are you reading this thinking how is that all going to fit in the limited space in that tiny ring?... if not, then you are like me... I was so optimistic that I would have the fluffiest pin cushion, only to realize after a large amount of hot glue was in place that this wasn't all fitting.  Go me!

I think one or two layers are plenty to fill in the limited space in the ring.  You have to remember to leave room to still screw on the cover (doy! I really have no idea how I let the batting take over my brain during this part, ha!)
Once I came to grips with my space vs. batting wants I ended up with a very nice looking cushion!  It is as easy as Martha says.  Secure fabric to top of ring with hot glue, then put cardboard on the bottom and wrap the fabric on to the cardboard and secure with more hot glue.

Or, my version... I used the cardboard to wedge the fabric and batting into place above the first inner ring mark, then I just a used a tiny dob of hot glue to hold the fabric down on the corners.  Voila!

I was able to put my random sewing machine parts ('left over' from when I took it apart here), extra feet for free motion quilting and zippering, and my spare sewing machine needles in the mason jar. 

I don't use this stuff a ton, but it's nice to have it within arms reach when I am setting up for each sewing session.


So, now my little wooden tray is feeling way more organized!  Bobbins, safety pins, and thread all have their own separate cubical. 

And, I am already enjoying my new pin cushion!  The height works nicely, I like how the pins can't get lost in the stuffing, and the little red flowers bring a smile to my face!


What have you made lately that has made you smile bit?  Or what project have you dropped everything for in order to bring a bit more organization to your creative space?

You Sew Can-a-thon
And! I have been stewing a bit and will have details for a fun You Sew Can-a-thon coming on Wednesday!  Are you as excited as I am to make a cute hand/machine sewn something or other for say Valentines Day or an upcoming birthday? 

I am!!

5.23.2009

Fabric Art

Putting together colorful creations with just fabric, thread and time = happiness!

I'll be the first to admit that I am fabric hoarder. I can't help myself from picking up colorful fabric when I see them (even though I already have bunch). I recently discovered Fabric Postcards. It's more or less a 4x6 quilt you hand make that is mail-legal to send to an address. I just can't get enough of the reaction the postal works have when I go to send one of these babies. Too cool!
Related Posts with Thumbnails