I've had lots of time to spend in the sewing room over the last week. Here's what I've been up to:
--CONNECTING THREADS FABRIC DESIGN CONTEST--
 |
| As Happy as a Hippo!! |
To all of you who have voted for "As Happy as a Hippo," thank you from the bottom of my heart! With one week left in round one, I have received more votes than I ever thought I would get
and I'm humbled.
The top 5 designs with the most votes go to round two, I'm looking like a major underdog, but have learned so much from this experience!
If you like, click the image to vote, it's four rows down on the left. Thank you for making this such a positive experience for me!!
--GETTING MORE ORGANIZED--
This may be the case with you too, but I have a lot of bent pins in my pin cushion. I honestly think that all this time I have been using pins that I purchased in my high school years. I shutter to think about how many moves these pins have made with me.
It was time for a change. I removed all the bent pins and pinned them to a scrap piece of paper that I later folded up and put in the garbage. Trying to do my best to not hurt anyone with them. I put the other straight pins in a spare (and I'm guess handmade by me in my younger days) pin cushion. The ones I left on my pin cushion jar were a few 'pretty' ones that had been pinned in fabric that was thrifted to me.
I treated myself the other day to these beauties. Just look at those popping Caribbean sunshine bright colors!!!
I ripped open the package and quickly stuck them all in my jar. And my work space is all the happier to have them along for the creative journey!! A pinning we will go!
--IN PROGRESS--
Big Blue
Yes, it finally has a name!! Since this quilt is for my Giants football loving husband and it's all sorts of lovely shades of blue I shall be calling this quilt Big Blue. And, I have nearly finished piecing this top!!
Backing up for a moment I should also mention that I started with
Colored Bricks pattern from Stitched in Color. I made the sashing a little wider. The top a little bigger. And instead of random placement of the bricks, I decided on an organized pattern to suit the mister. You can see a bit more
here and
here.
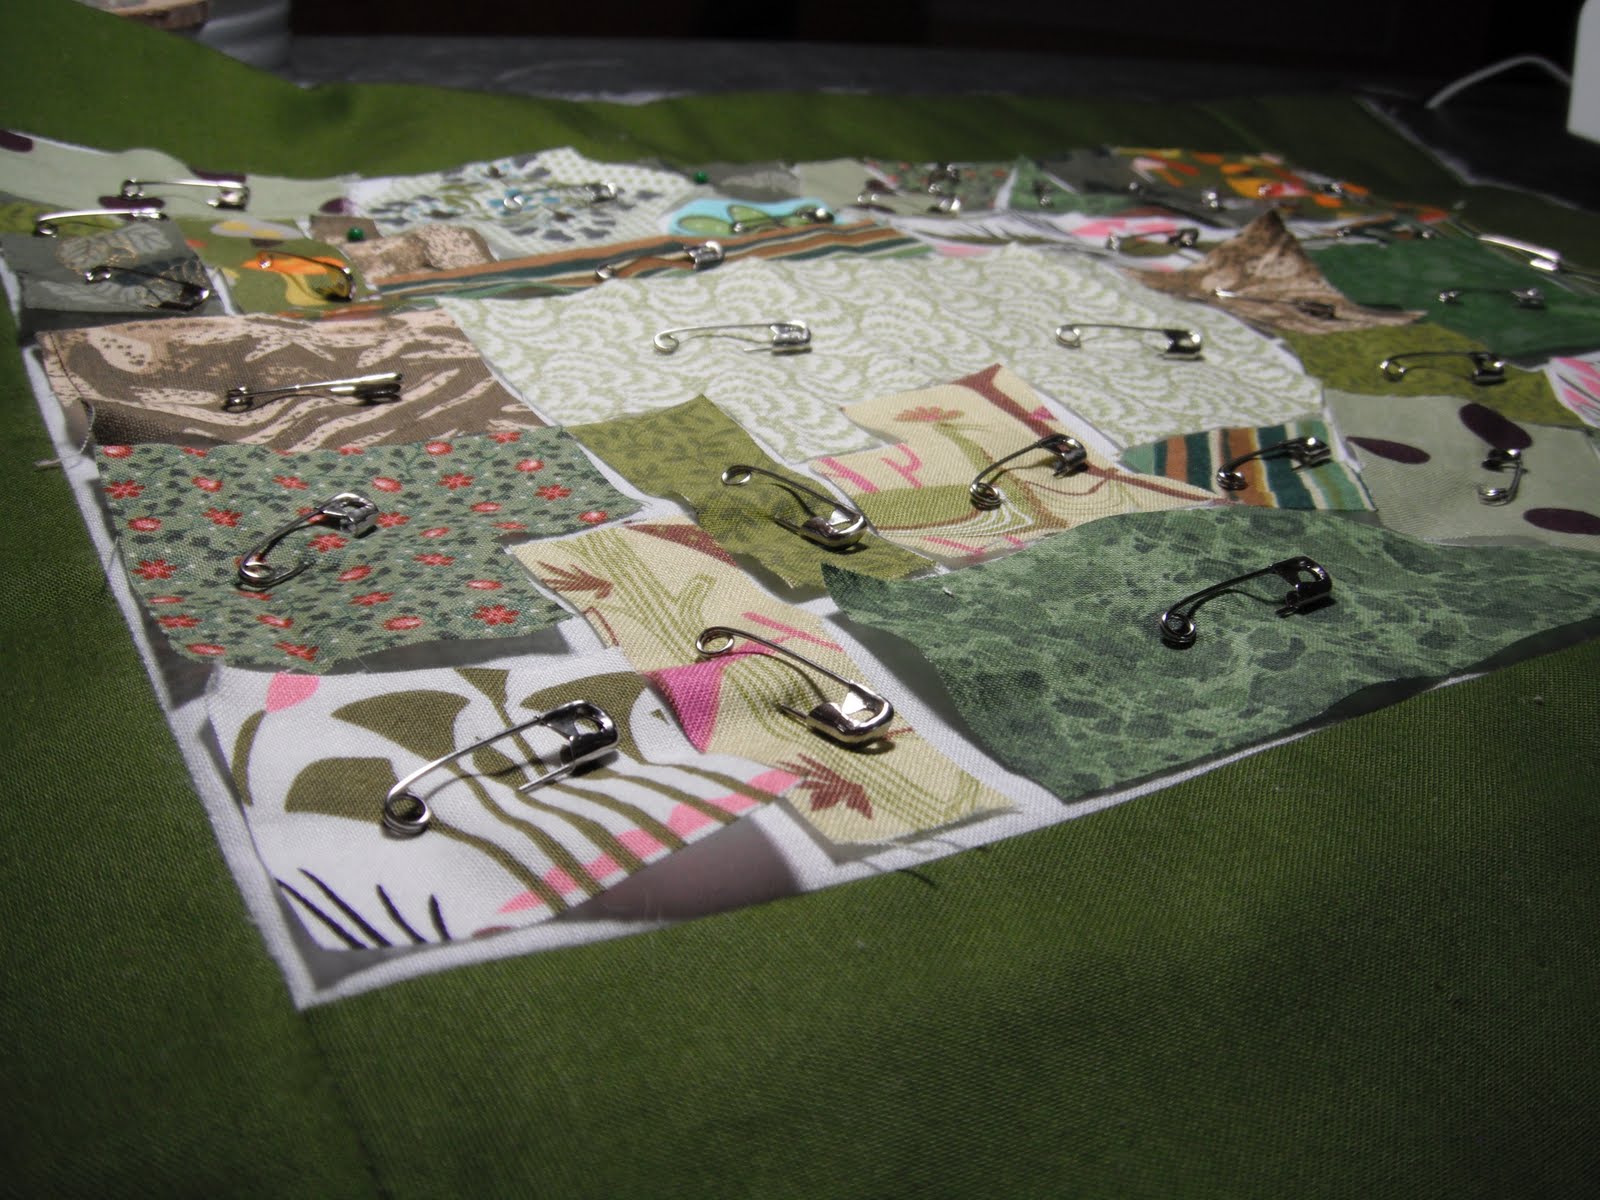
X Marks the Spot
I laid out my backing. Taped it down (with the clear stuff... masking tape was hiding somewhere in my closet -- don't laugh Mr. Happy)
Smoothed on the cotton batting. I used Warm and Natural this time around and really really like it! So smooth, no puckering, nice to the touch, not too stiff. Pretty excited to see how it quilts too!
Then I laid out the top and smoothed smoothed. Then pin, pin, pinned. I probably don't use as many pins as others. I'm a rebel that way. So, the next natural question is how should I quilt this? Any thoughts? I have done the last few with free motion loopies...
my comfort zone.. I wouldn't mind branching out to something else.
Yup, I'm falling hard for this one all over again! Looking forward to start stitching... I bet I will be winding bobbins with peach thread tonight in anticipation!!
Oh, and here is a portion of the scrappy backing I made up using left overs and larger pieces. When I get a better shot... you will see there is a giant X on the back. Too cool!
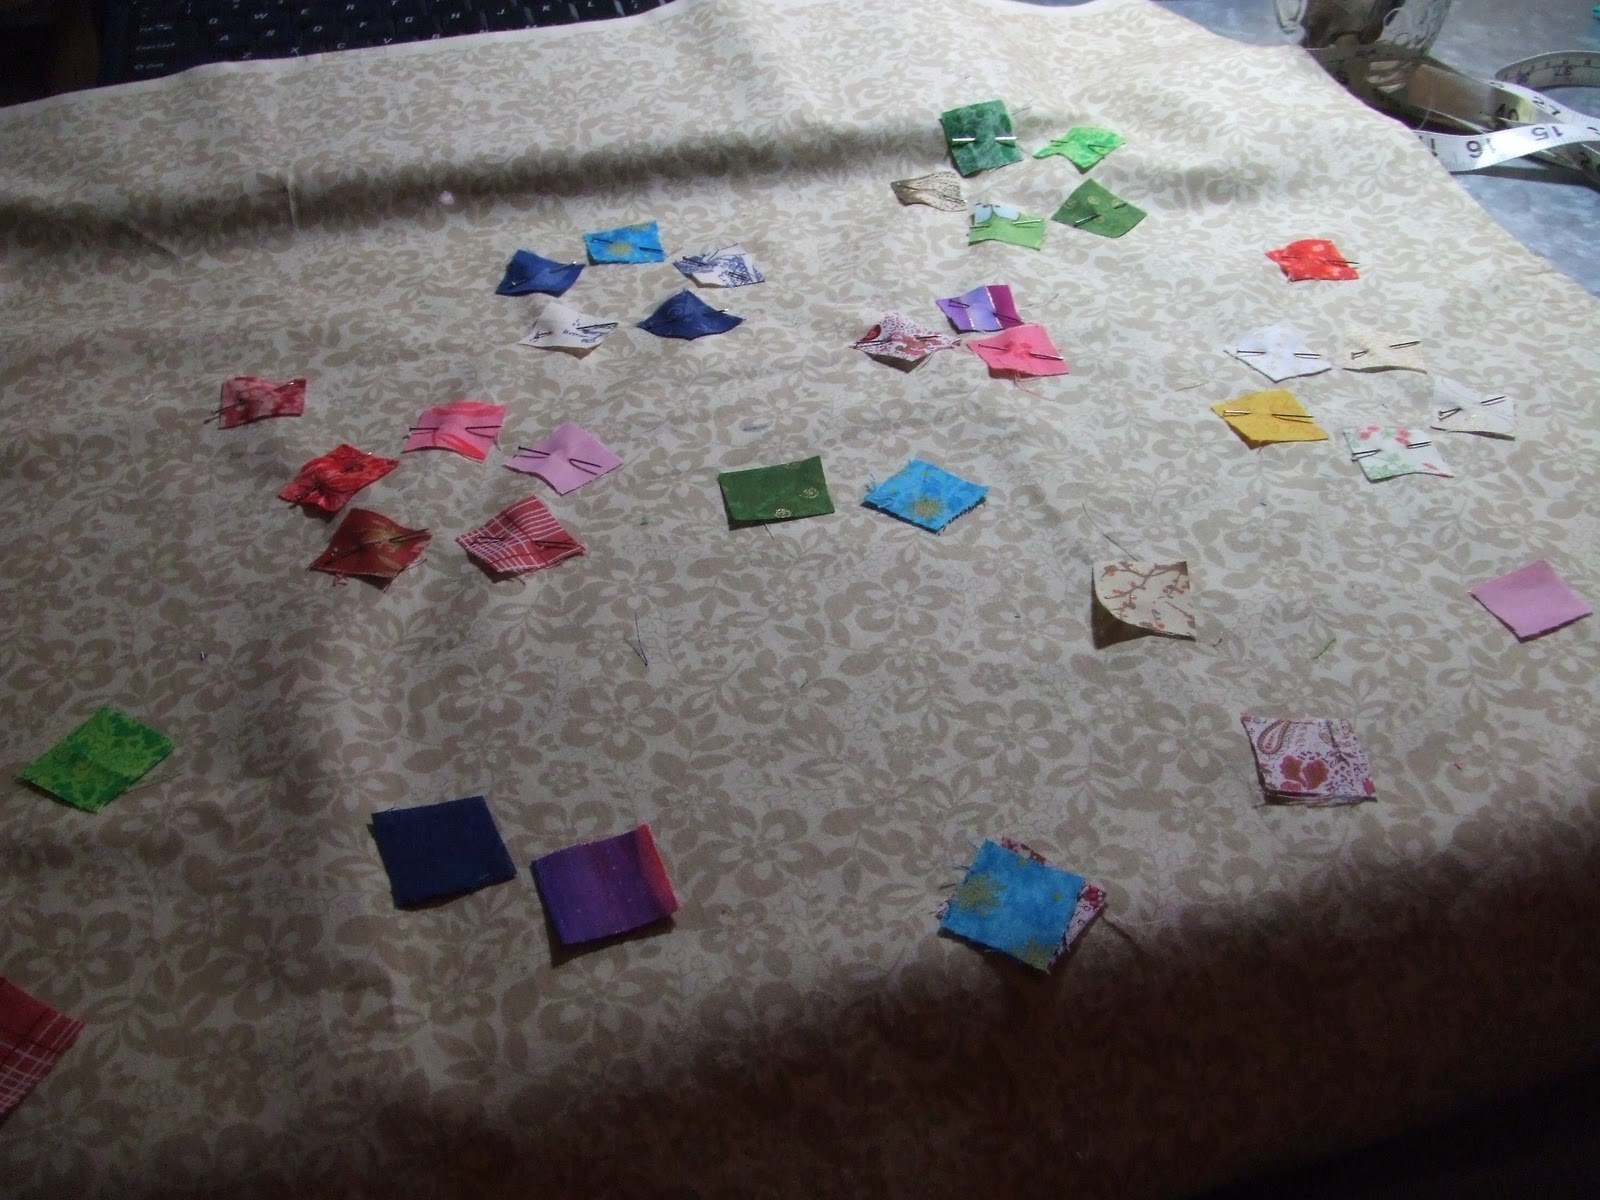
 Color Wheel Charm Swap
I am cutting my charms for this swap!
I got the colors Orange and Orange-Red. Looking forward to playing with all the colors of the rainbow shortly!

And last, but not least, I joined another quilt-a-long by
Melissa at Happy Quilting.
Remember the last one we did with her:
Tribal?
I am going to call this one Star Struck.
Star Struck
Remember those vintage sheet fat quarters? I decided that I will be using them to make up the stars. And because I never just go along with the crowd, I am going to try and use this light brown flannel as the background color. Can't wait to make up the first few stars!!
--ON PAUSE--
{Insert Name Here}: Bottled Rainbows {ticker tape quilt-along}
I am looking froward to getting back to this one, but decided I needed a finish, so this one was put aside.
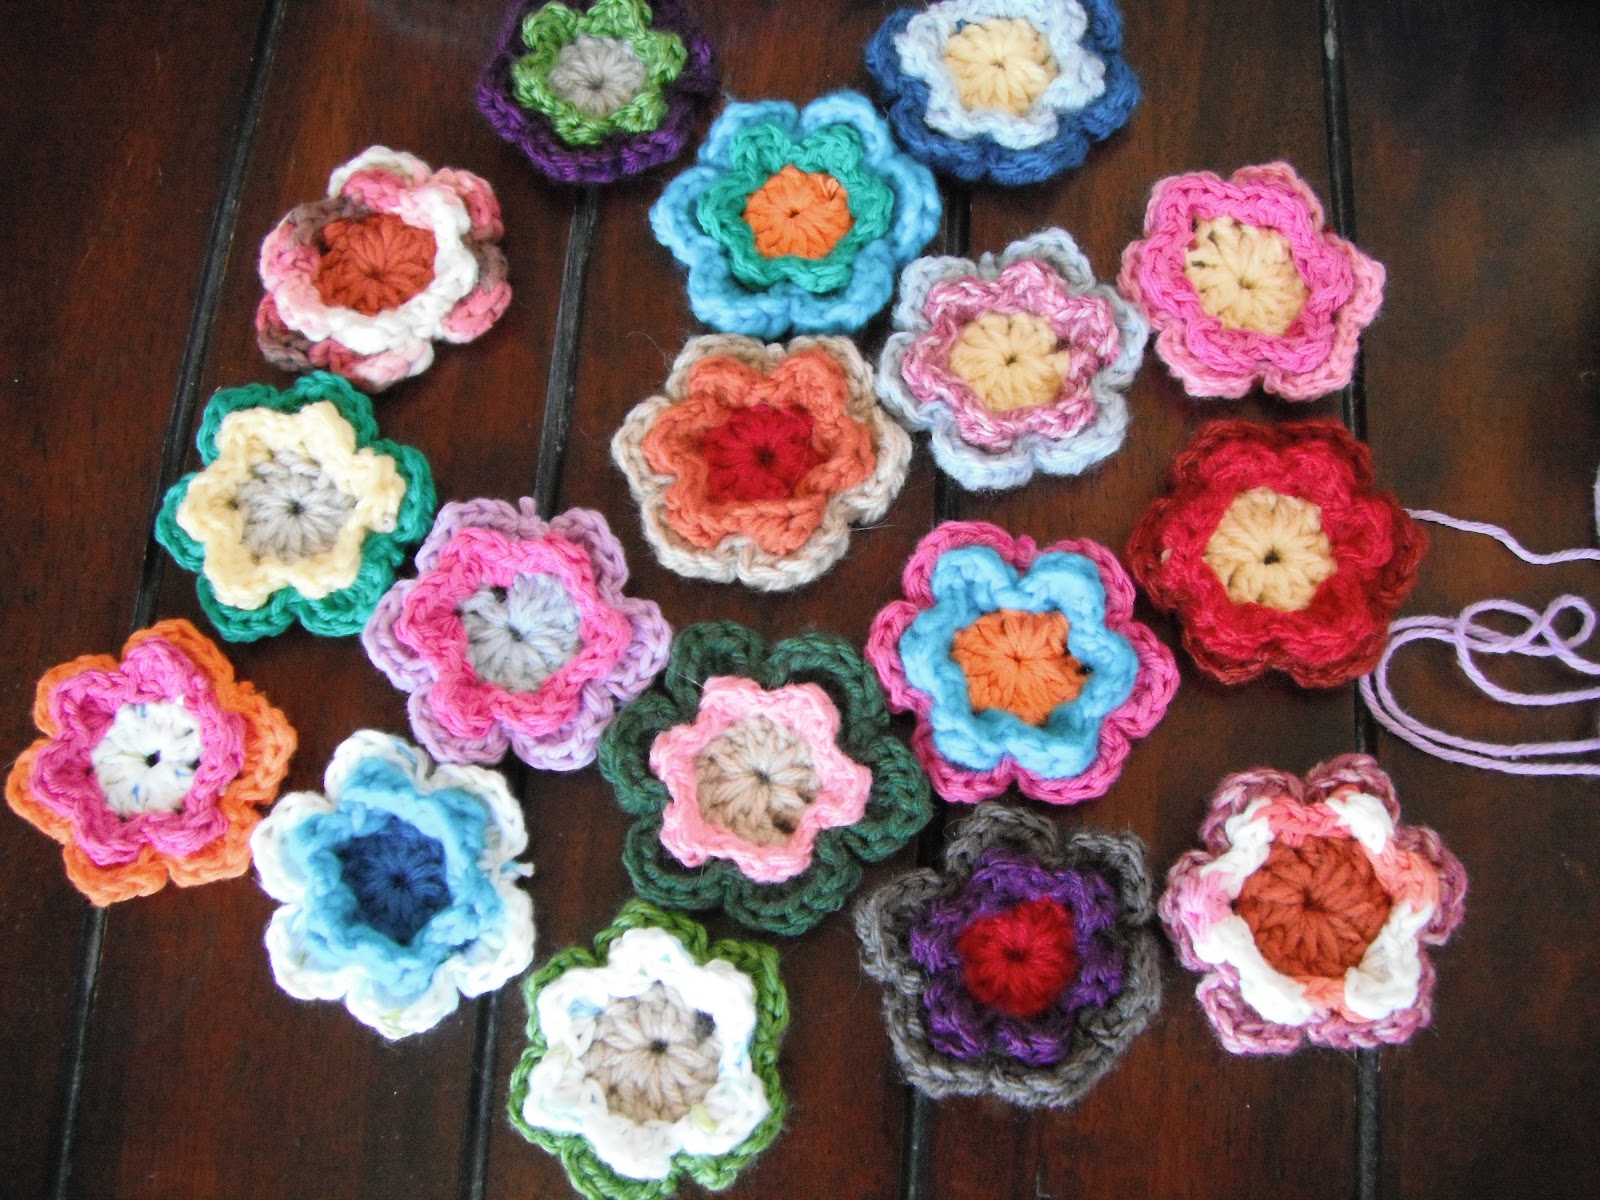
Crewel Spring Flowers
Nada -- poor pretty flowers.
Katie Fiber Art
No action here.
You Can Sew-a-thon!!
You haven't heard of it??...
check it out here or read about our
first project (Strawberry Pincushion).
This Week's Work in Progress (WiP) Stats:
Last WiP Wednesday Total: 6
New Projects: 1 (officially added Star Struck)
Finished Projects: 0 (But getting closer on two)
Total WiP's: 7 (strangely still the same as last time)